
Cycling Team Kit Design: From Your Logos or Team Colours to Production Artwork
Cycling team kit design for team managers who are not designers. You bring what your team already has: photos of your current kit, your crest and sponsor logos, or your team colours and a written brief.
Our Kit Layout Designer draws it into one layout proof across every piece you order, and the version your team manager signs is the artwork your kit is printed from.
- Every version dated, with changes marked
- Each logo checked on the XS of every cut before a version goes out
- Signed by the Kit Layout Designer and your team manager
- Design kept in your team file for 5 years after your last order
- ISO 9001:2015, OEKO-TEX® STANDARD 100 and BSCI
Team Kit Design Across Six Pieces, Drawn by the Kit Layout Designer in Your Ordering Programme
Layout design is one of the tasks inside your team kit ordering programme, and the Kit Layout Designer is the person who does it. The same Designer draws your first version, every revised version and the version your team manager signs, and signs the final proof alongside your team manager.
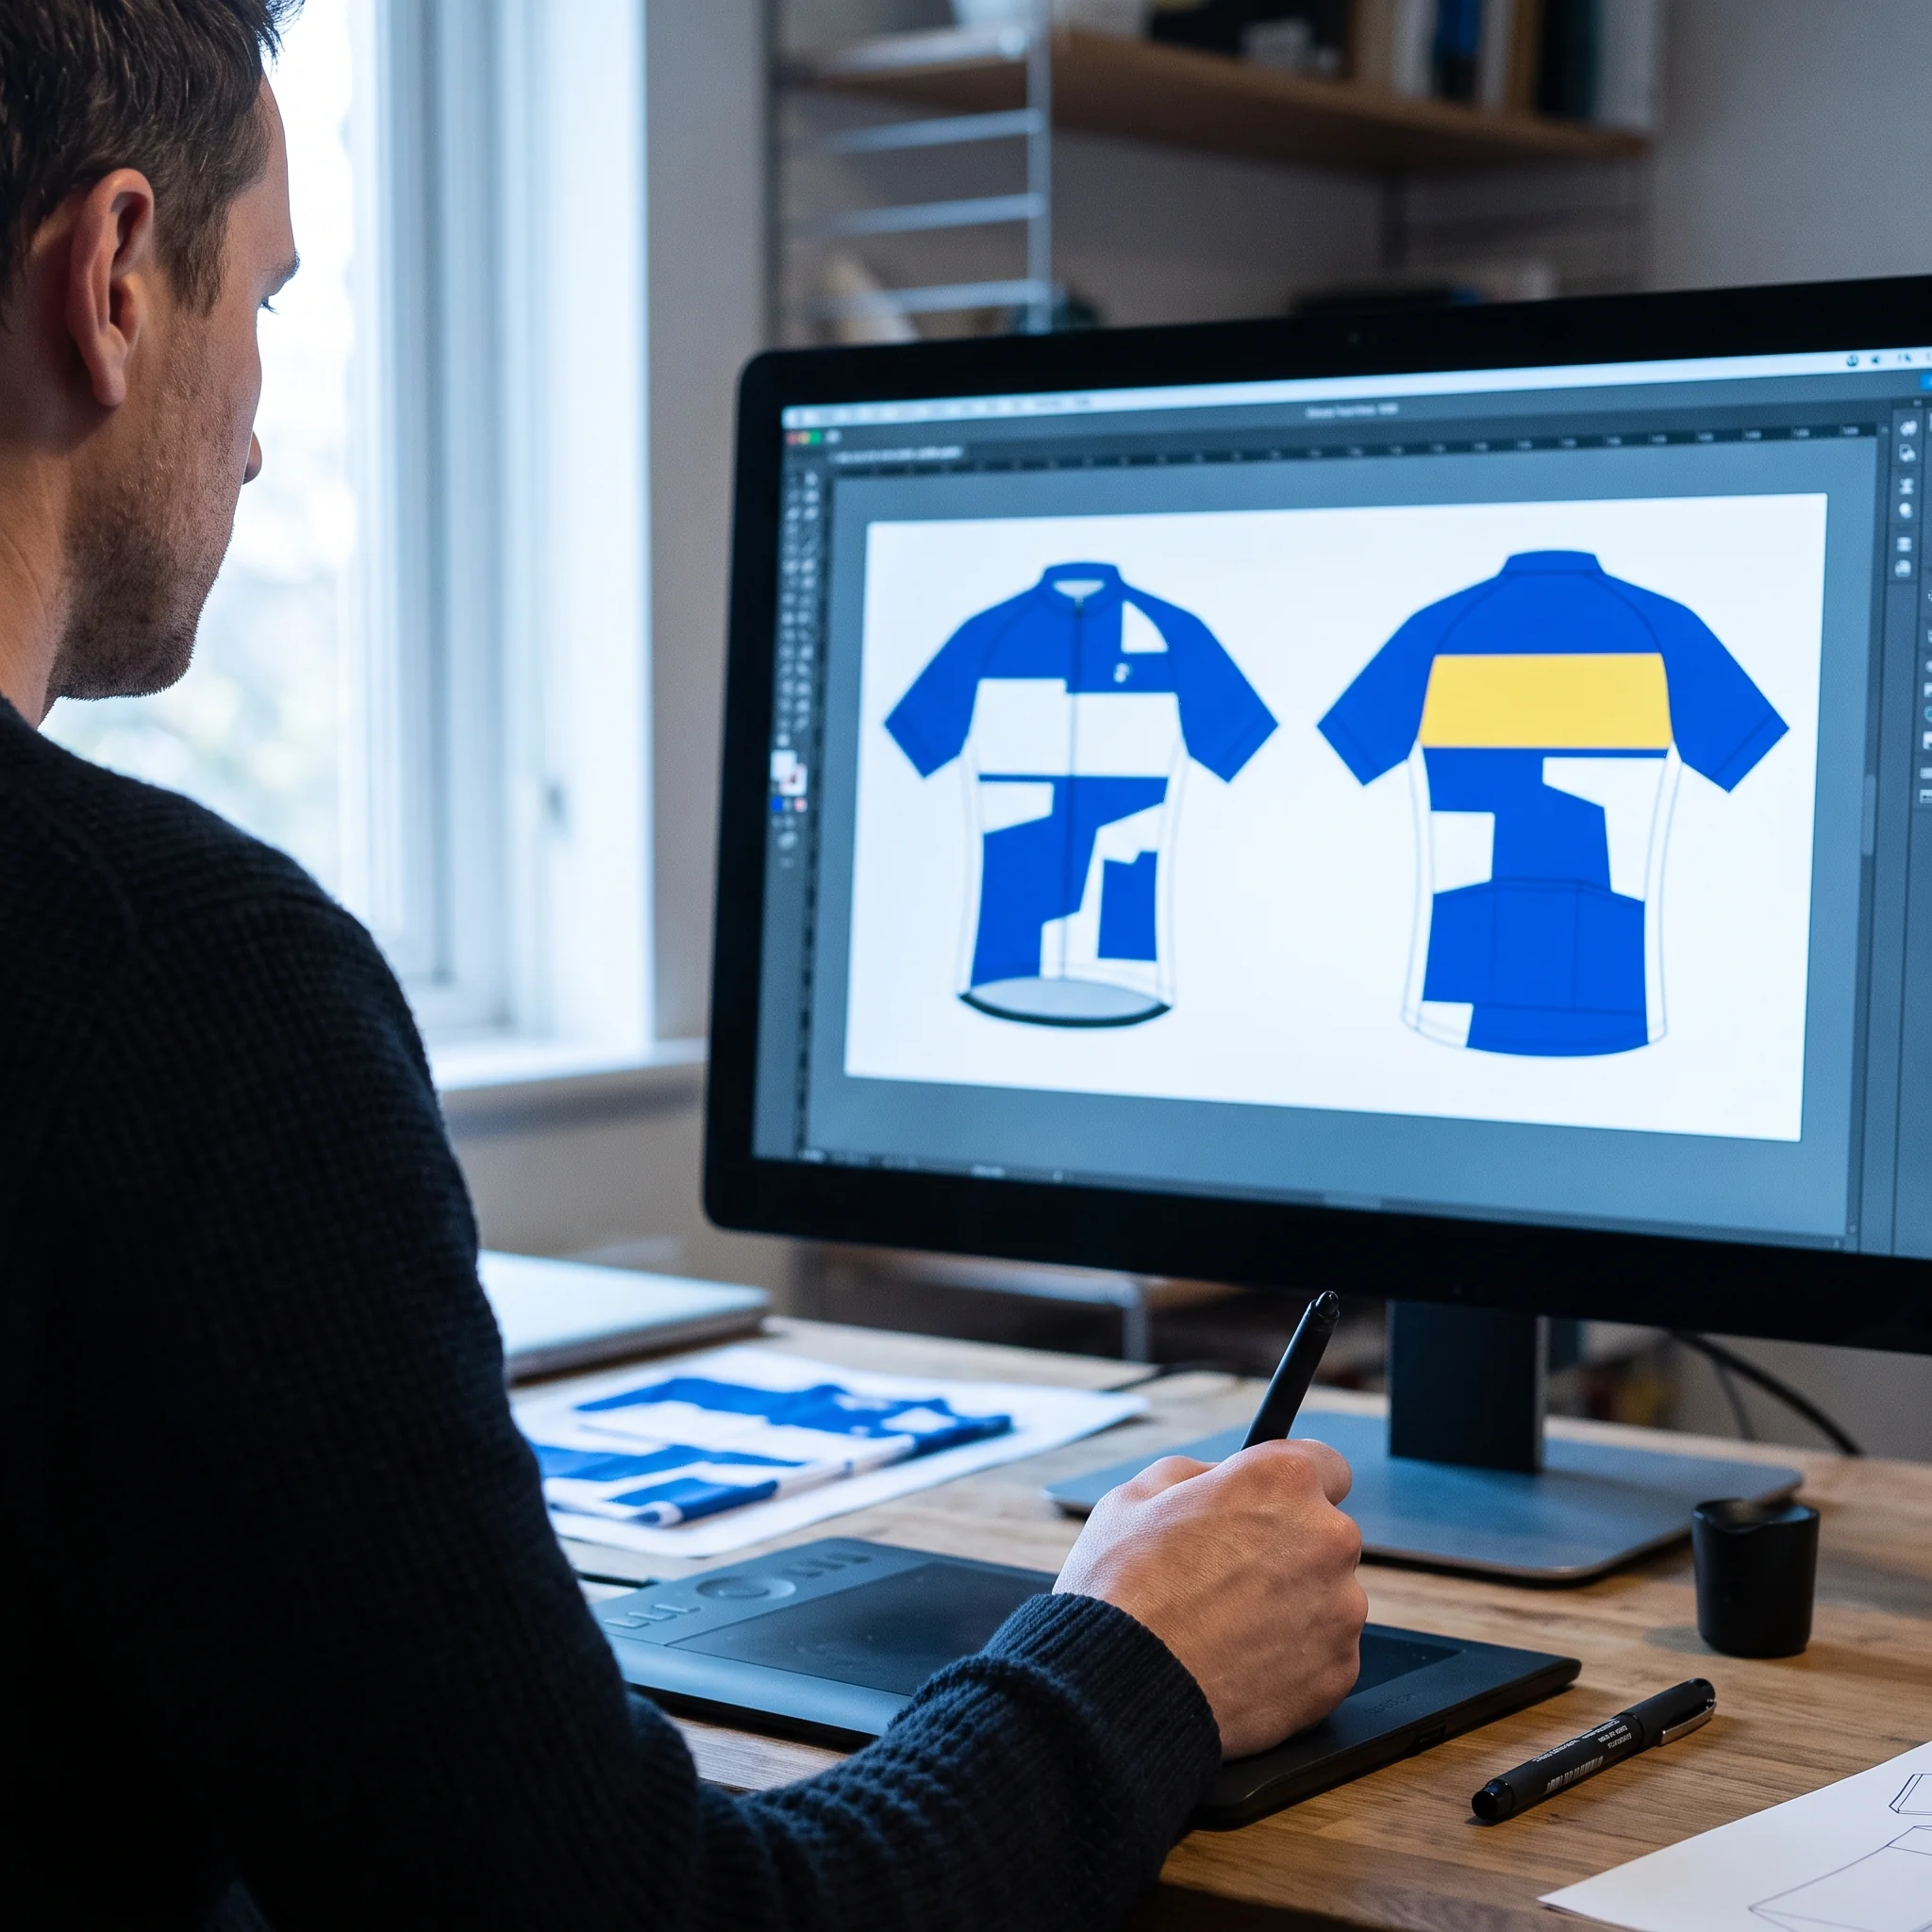
What the design work produces:
A layout proof
covering every piece your team orders: team jersey, club gilet, club jacket, arm and leg warmers, cap and socks.Separate drawings
for men's and women's cuts, and for short and long sleeve jerseys, in sizes XS to 3XL.A named zone
for every crest and sponsor logo, with the printed size of each logo marked.Name and number rules:
font, colour and position, checked against the space on the smallest size.A combined kit view
showing the pieces you ordered worn together.A dated colour reference version
for each piece, set up for the decoration method that piece uses: sublimation, embroidery or knit.
The signed proof does not stay a picture. It goes to production with your locked roster and the colour reference for each piece, and the same proof is the sheet your riders' bags are checked against before packing.
Design Scope: Our Tasks, Your Team's Inputs and the Edges of the Design Work
- We do
- Check every logo and design file before any drawing starts
- Draw a full first version from your current kit, your logos or your written brief
- Draw each cut separately and size every logo for every zone
- Check every version against the print rules before it is sent
- Send each version dated, with changes marked
- Hand the signed proof to production with your locked roster and colour references
- Your team does
- Send crest and sponsor logos as vector files
- Send kit photos, logo files or a brief with colours, feel, reference photos and must-have elements
- Tell us which sponsor goes in which zone
- Collect committee and sponsor comments into one reply per round
- Sign the final version
- Lock your roster with the Order Desk
- Edges of the design work
- Raster logos, screenshots and logos cut from kit photos go back with a note on the file needed; we do not redraw them into vector files
- Your team name can be set as lettering in place of a crest; crest and logo creation are outside the design work
- Sponsor ranking and zone allocation are covered on our sponsor logo placement page
- Fit and sizing are covered on our club fit cycling jersey sizing page
- Bib shorts run separately through procyclingapparel.com
- One contact on each side: your Programme Coordinator and your team manager
All decisions on the design are made in writing, by email or on a signed document, and in English.
Three Starting Points for Your Team Kit Design: Current Kit, Vector Logos, or Team Colours and a Brief
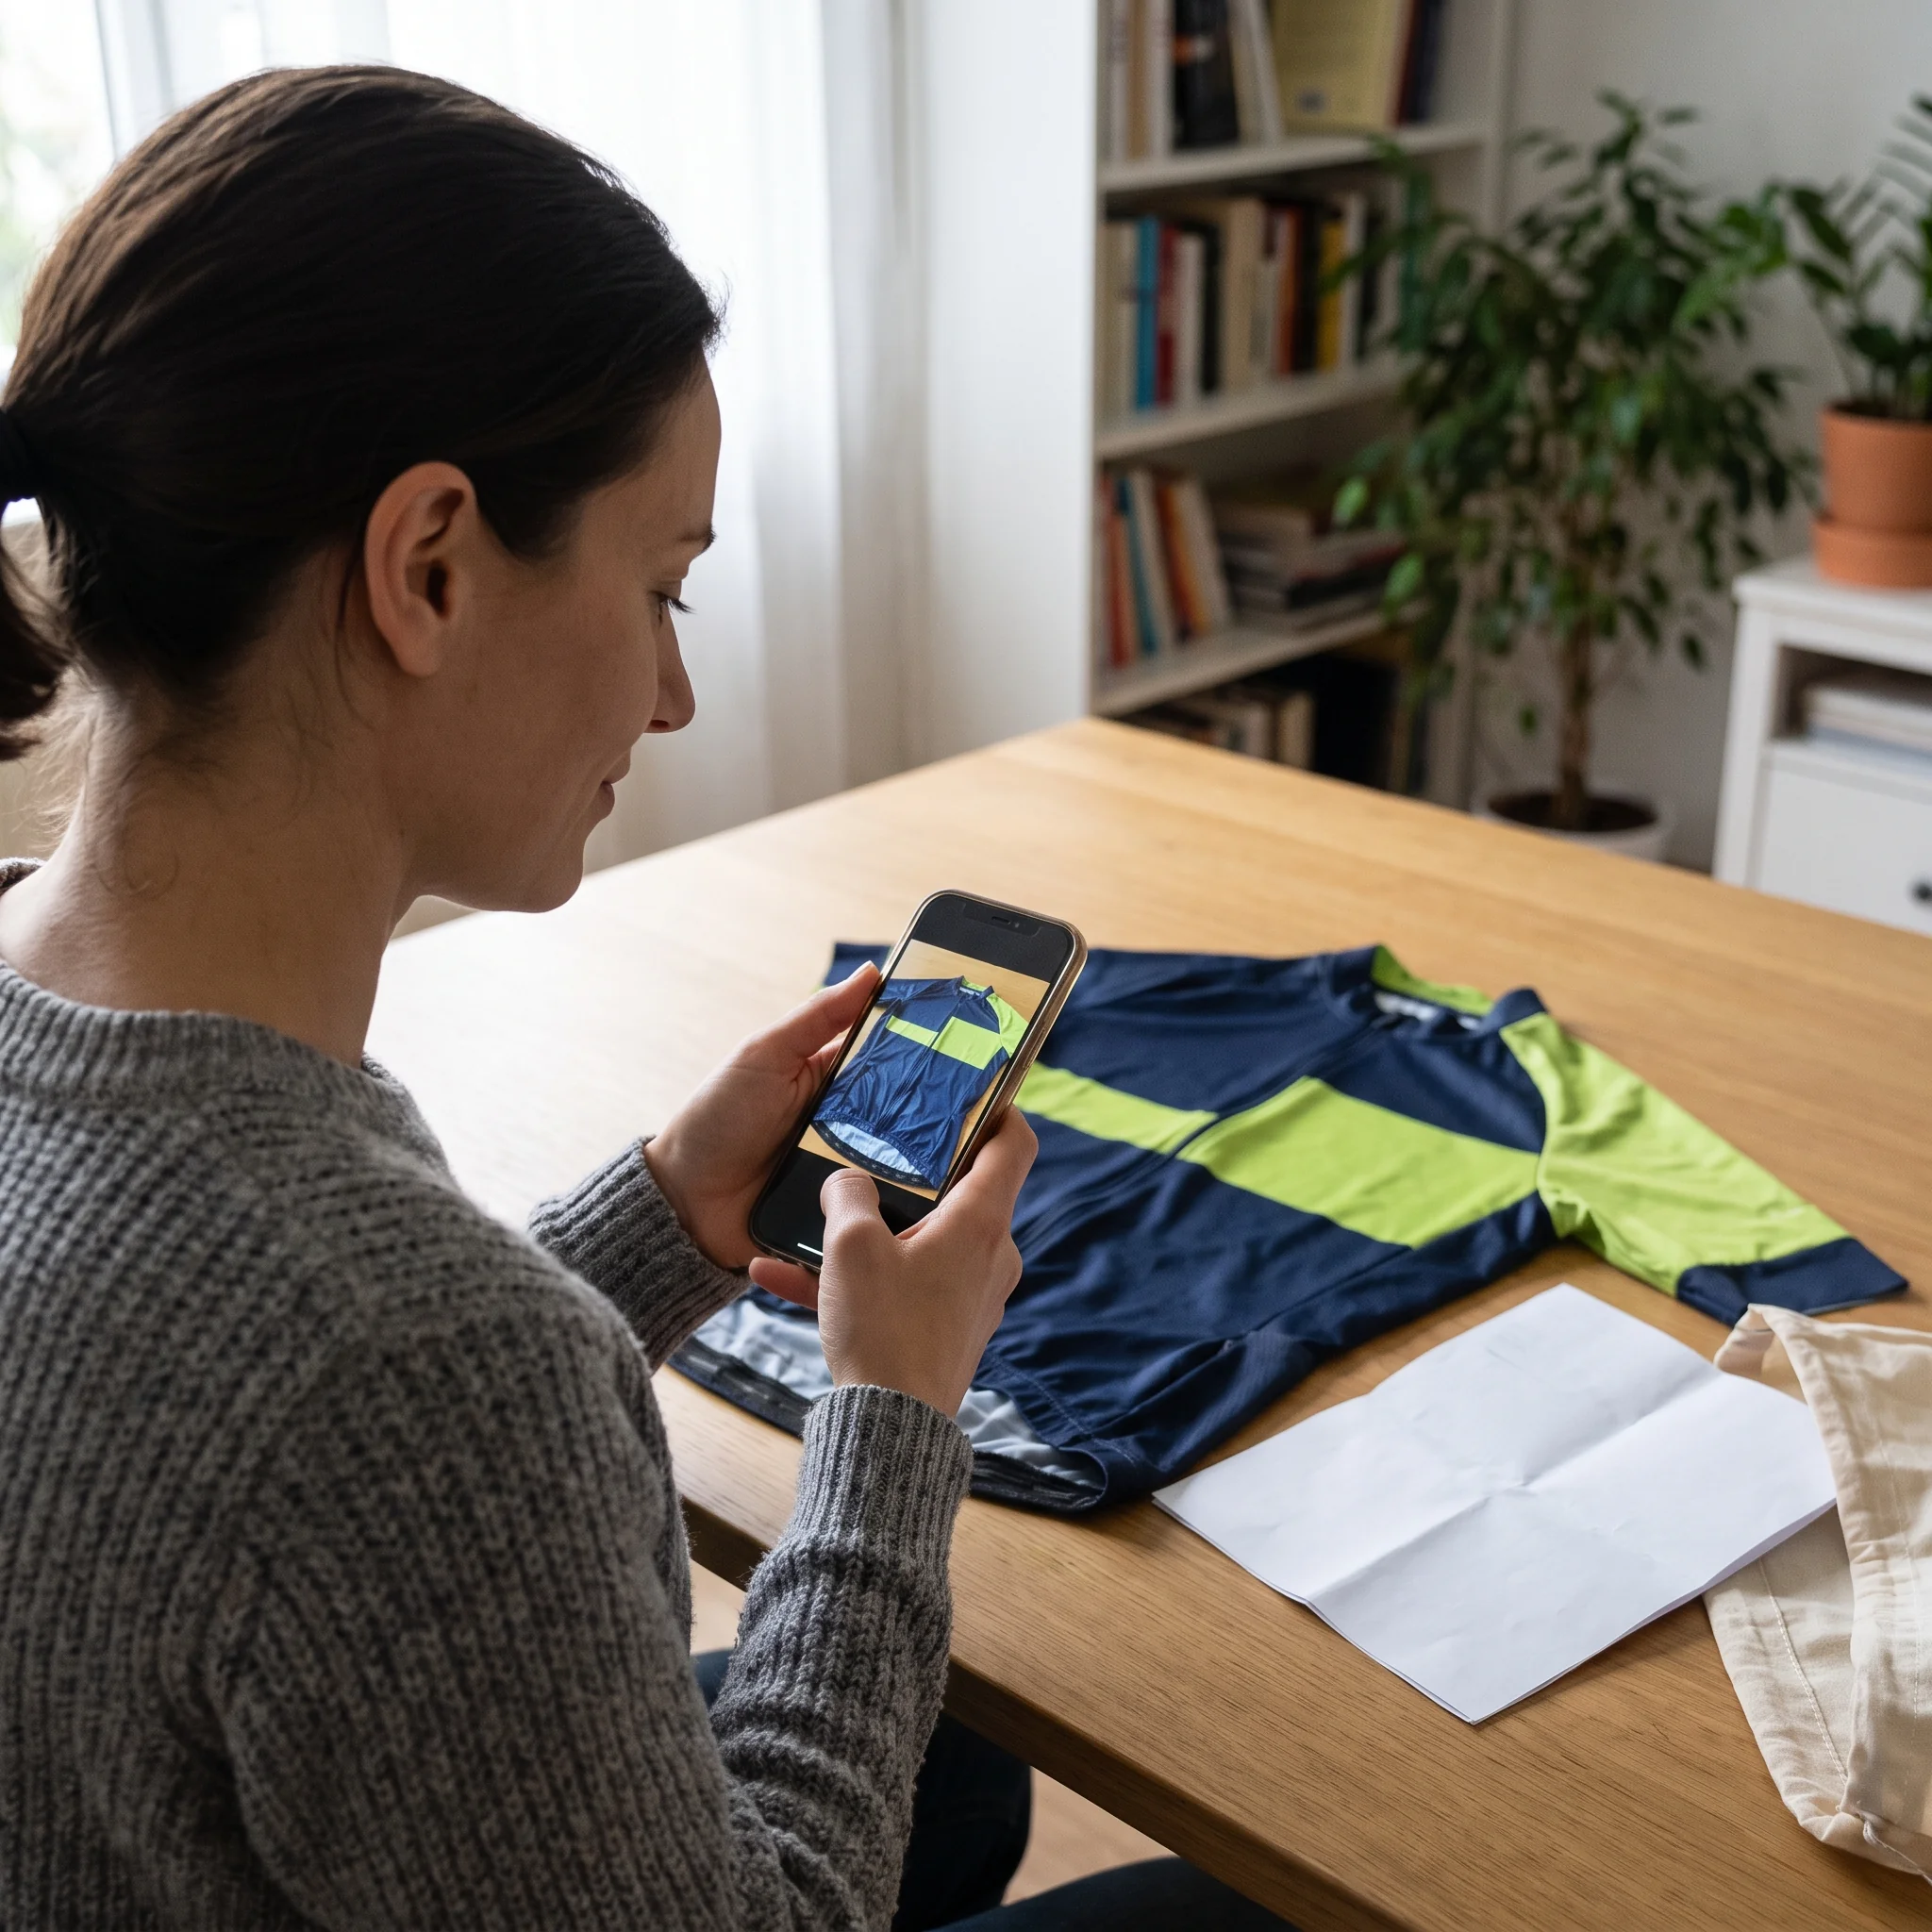
Every team arrives with different material. The Kit Layout Designer starts from what you have and draws a complete first version: all the pieces your team orders, in your colours, with every zone filled. Which starting point you choose sets the first draft and the inputs we ask for.
-
A current kit.
Your team already rides in a kit and wants it carried over, refreshed or moved to us.- Photos of the current kit, front and back, or the original design files if you hold them, give the Designer your colourway, the crest position and the order your sponsors sit in.
- If your current kit is a jersey only, the Designer extends the same colourway and the same named zones to the other pieces you order: gilet, jacket, warmers, cap and socks.
- The crest and sponsor logos themselves still come as vector files. Photos set the layout; vector files are what gets printed.
-
Crest and sponsor logos as vector files.
Your team has its logos ready and a set of team colours. The Designer builds the layout around your logos in those colours, places each sponsor in the zone you name, and marks the printed size of each logo on every piece that carries it. -
Team colours and an idea.
Your team has a name, a set of colours and a picture of how the kit should feel, but no design yet. This is how teams design their own cycling team kit with us: your team manager writes a brief, and the Designer draws from it.The Designer draws one full layout from the brief as your first version. If it is not right, you say what to change in your review reply, and the next dated version comes back with every change marked.The brief covers four things:
- Your team colours.
- The feel you want the kit to have.
- Reference photos of kits or designs your riders like.
- Elements that must appear: a team name, a crest, a sponsor.
A team with no crest can still start here. The Kit Layout Designer sets your team name in a chosen typeface as lettering, and that lettering becomes part of the layout. Lettering in the crest position
A JPG Crest at the File Check: A Note on the File Needed, and Team Name Lettering in the Crest Position Until It Arrives
Many teams' crest exists only as a JPG, or as the badge on last season's jersey. This is the step where that is settled.
At the file check
When your files arrive, the Kit Layout Designer checks each one before drawing anything.
A crest or sponsor logo sent as a JPG, a screenshot, a low-resolution image or a file cut from a kit photo does not pass. It goes back to your team manager on one dated note, naming the logo, what is missing and the file format needed.
Your proof does not wait for the crest.
While your team finds the vector file, the Designer draws the first version with your team name set as lettering in the crest position. Everything else on the proof goes ahead:- Your colourway on every piece you ordered.
- Every sponsor in its named zone, with its printed size.
- Name and number rules.
- The combined kit view.
Your committee and sponsors can review the layout, the colours and the sponsor positions while the crest file is on its way.
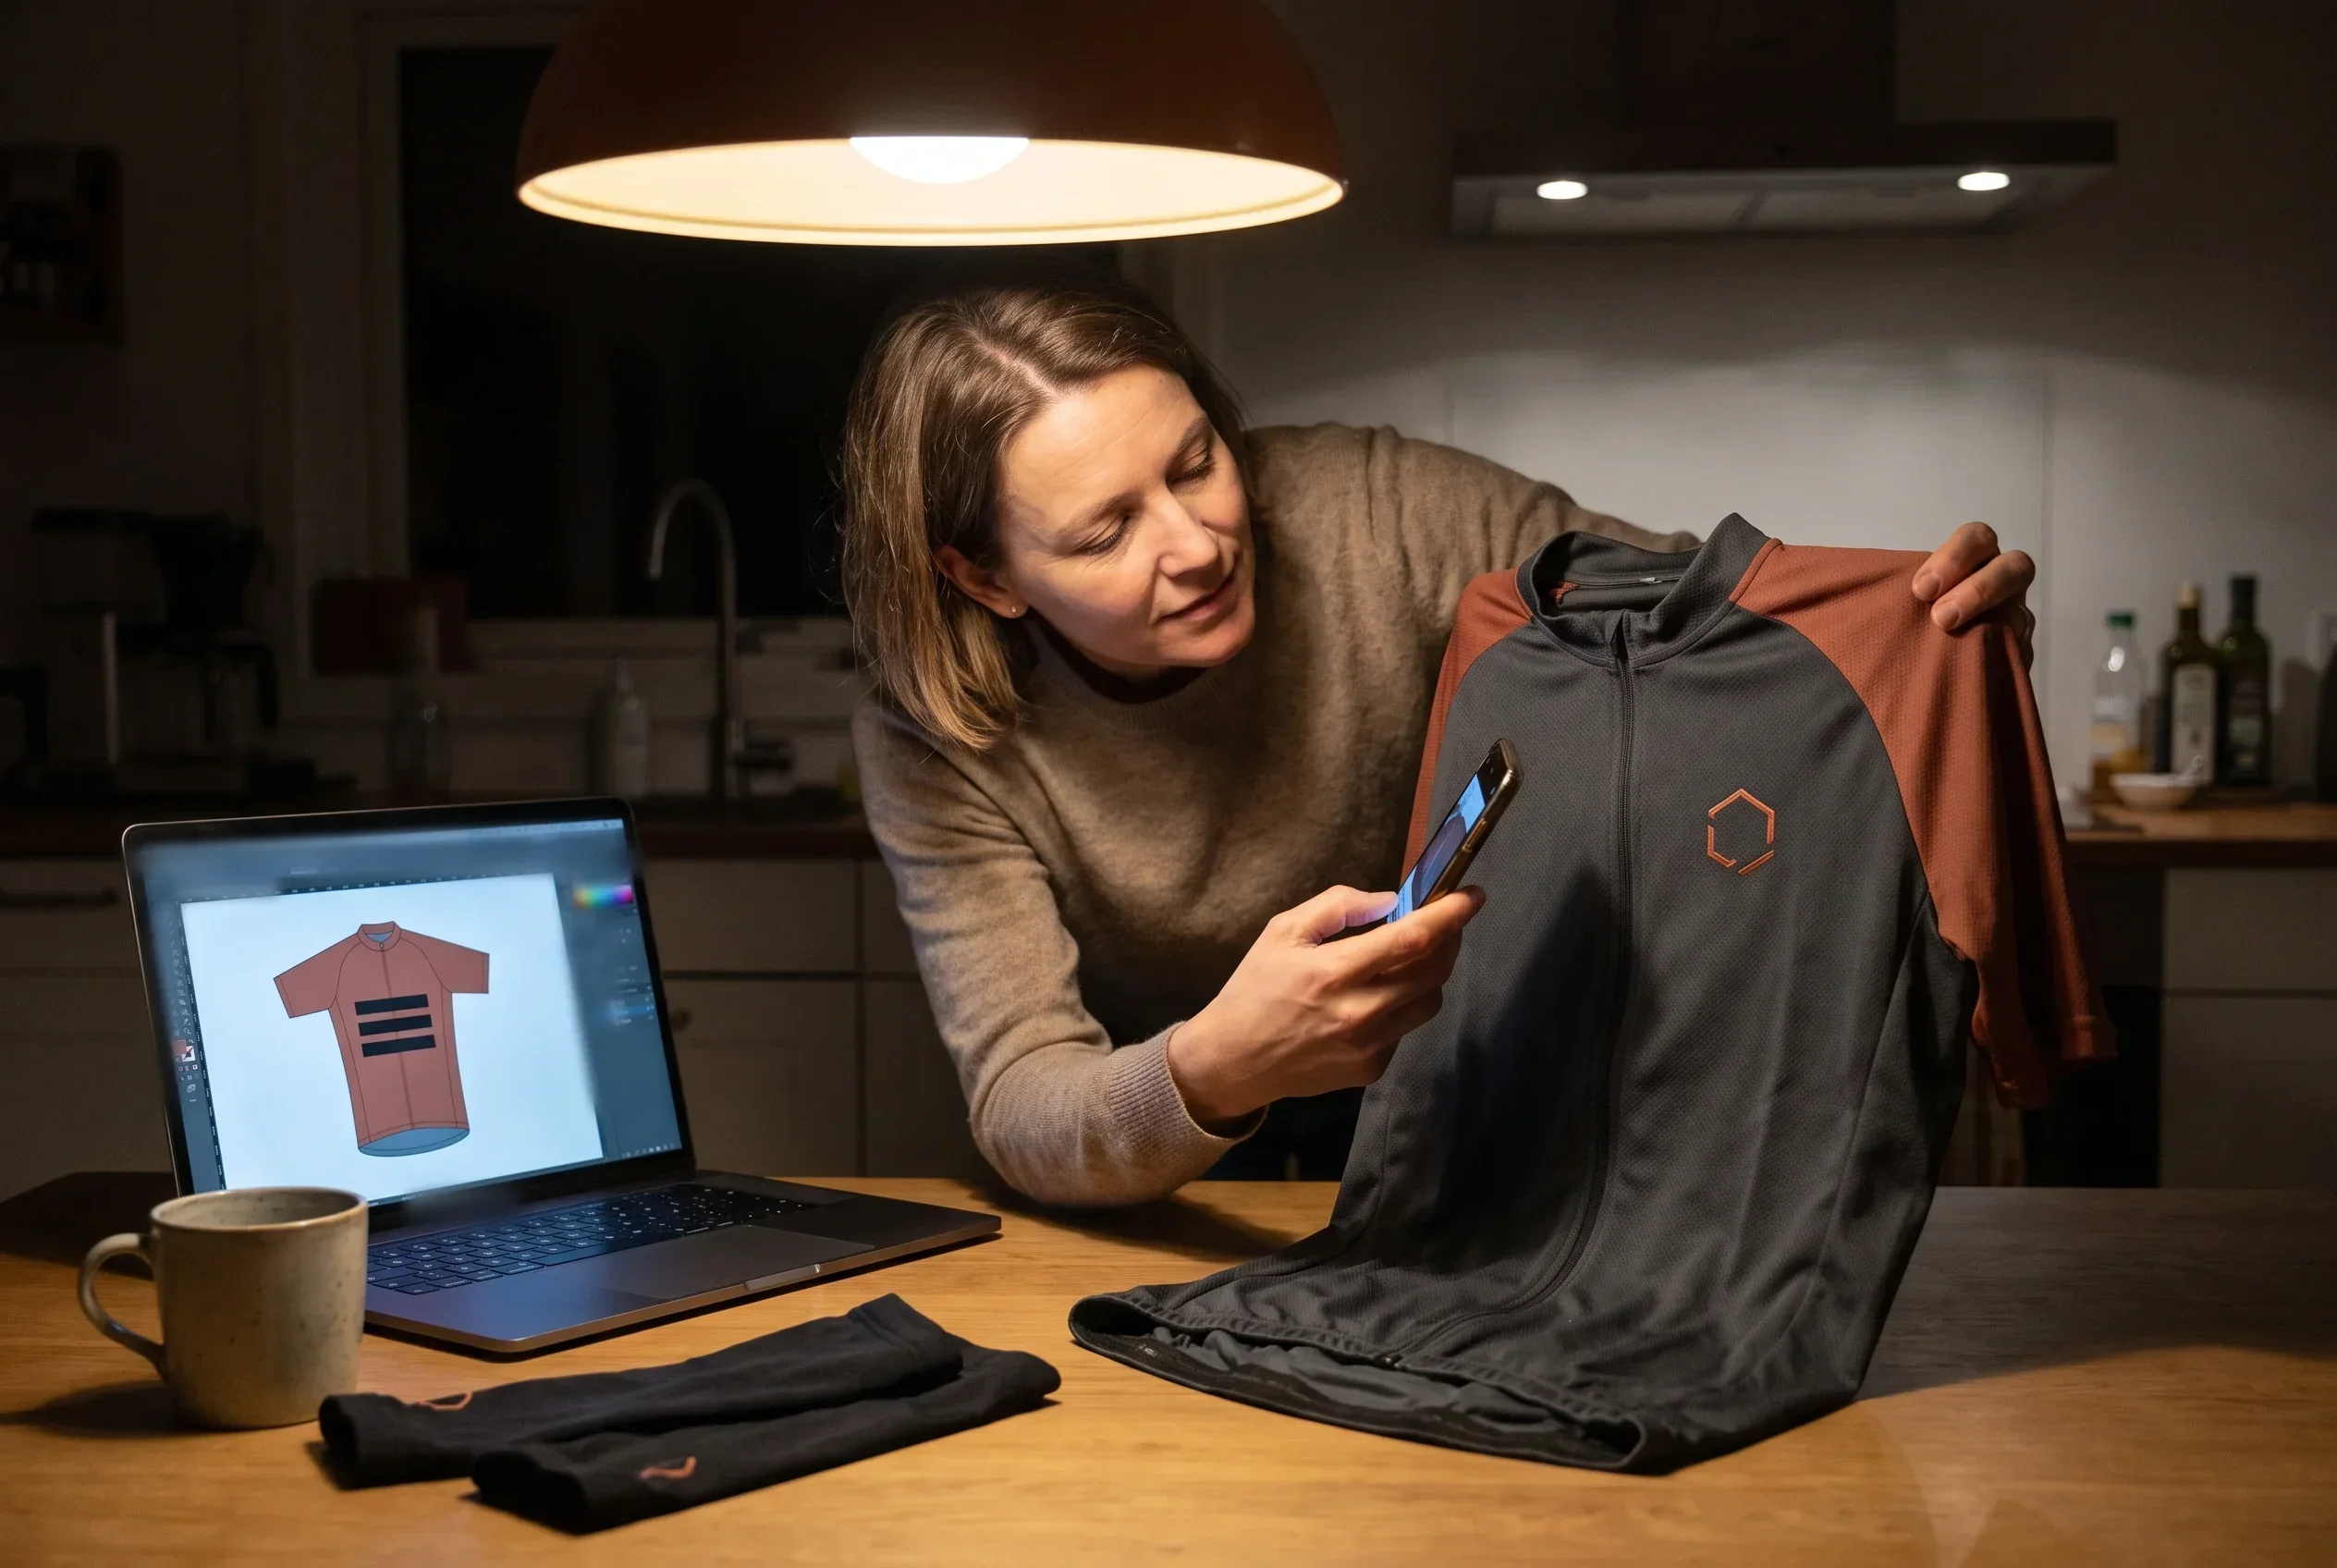
The version your team manager signs contains no placeholder.
If the vector crest has not arrived, the proof stays unsigned and your ordering window stays closed; if your team decides to ride with the lettering, the lettering is the final design and it is signed as such.
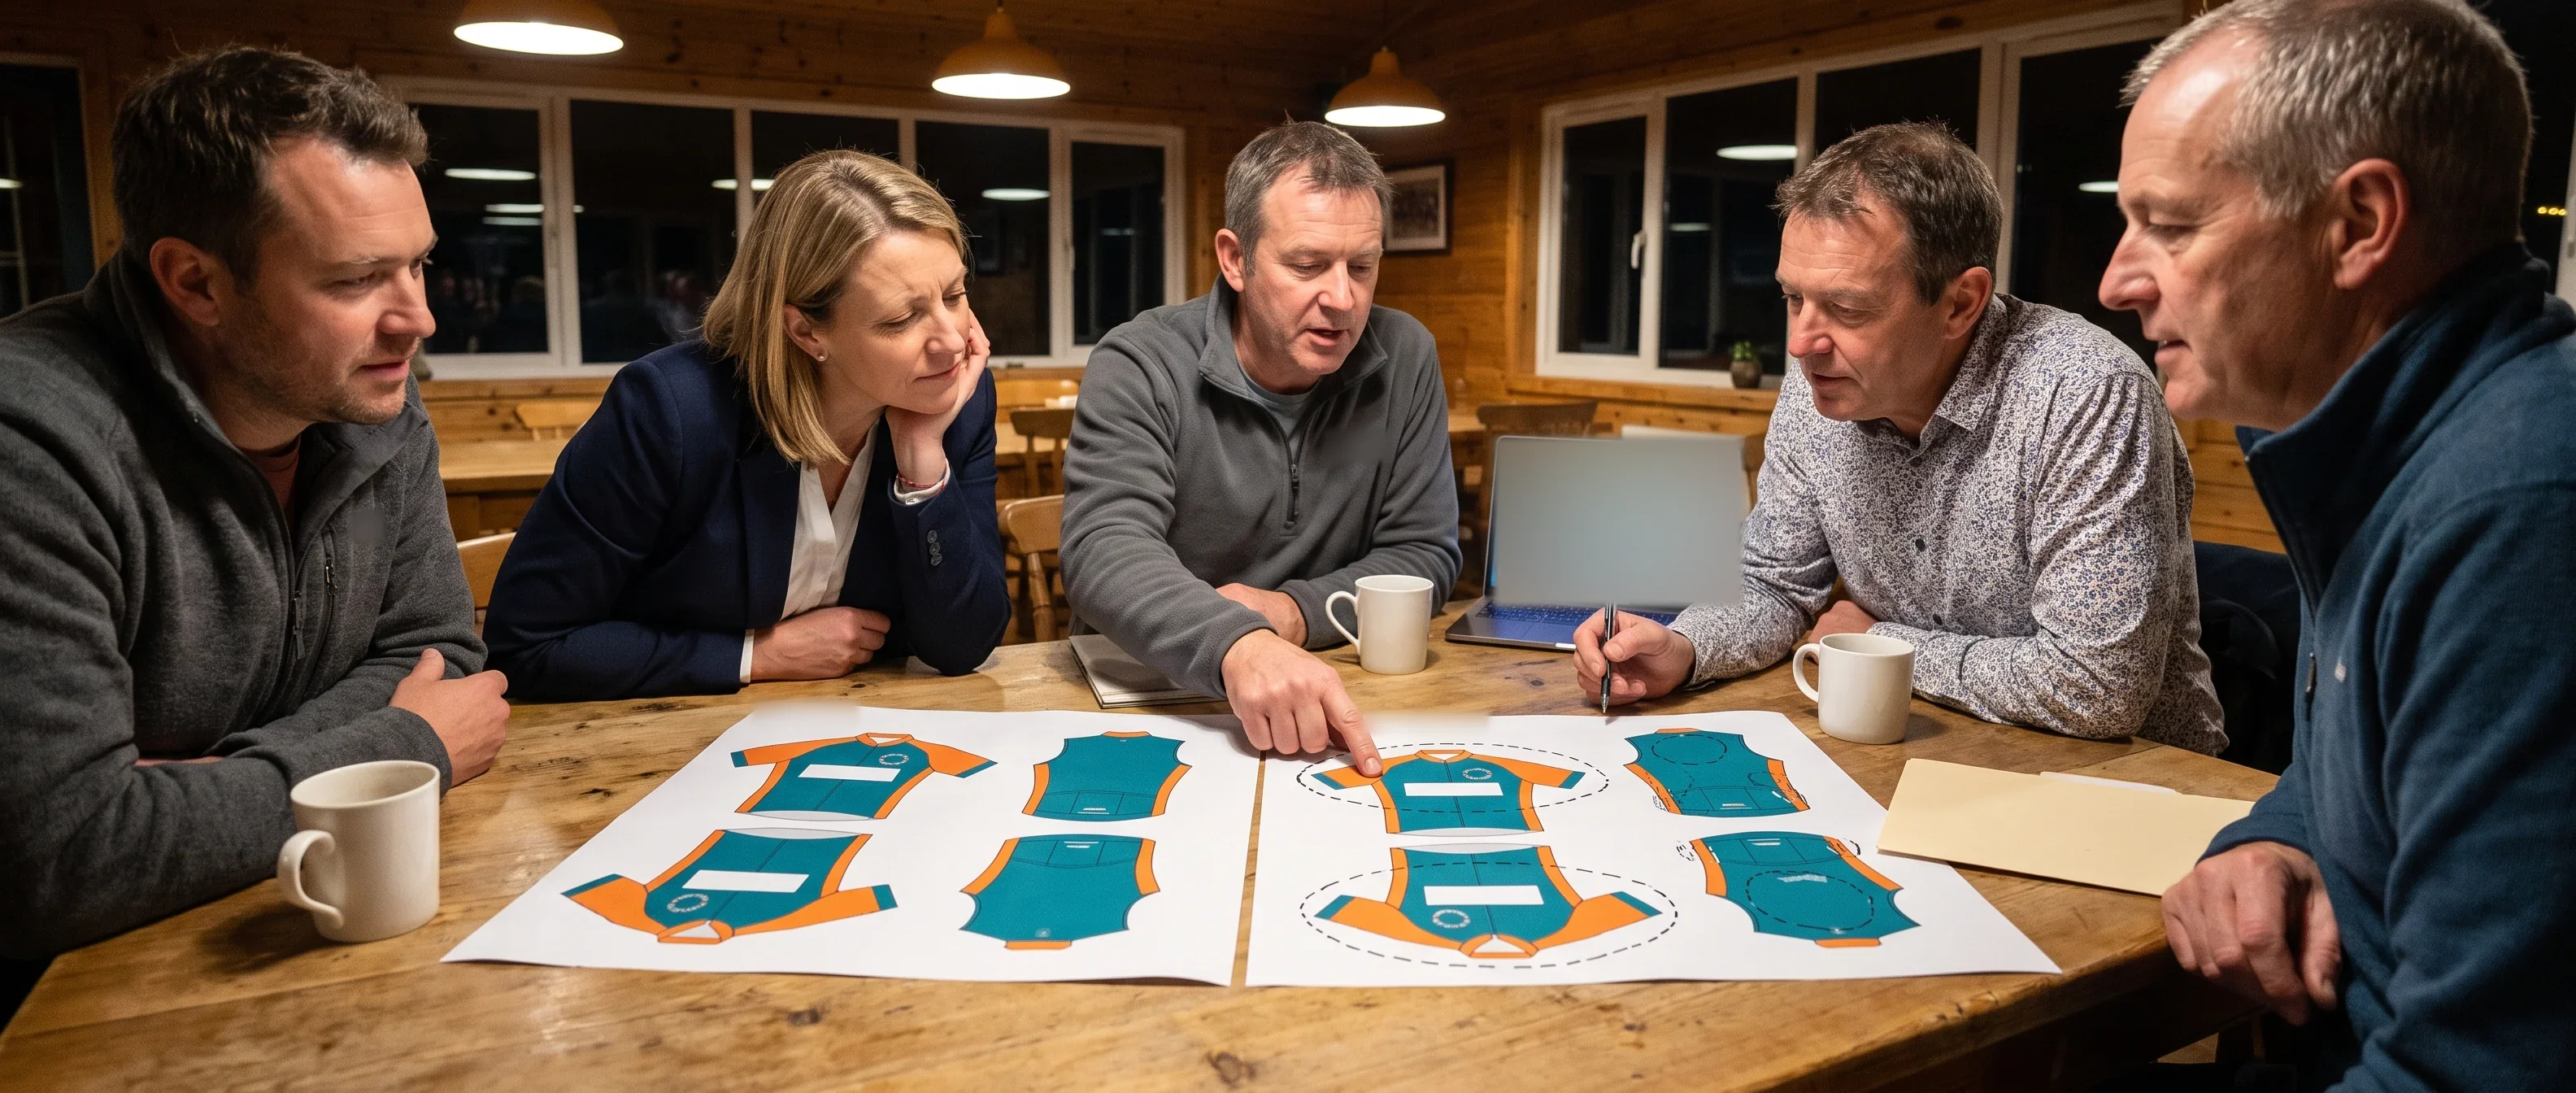
Layout Proof Drawn Cut by Cut: Men's and Women's, Short and Long Sleeve, Every Zone Sized
As a cycling club kit designer working inside your programme, the Kit Layout Designer draws your layout proof to the level a sponsor, a committee member or a rider can check without asking us anything.
How each piece is drawn:
- Every piece your team ordered is drawn front and back, with sleeves and side panels shown.
- Men's and women's jerseys are drawn on separate pages. Both use the same named zones and the same logo sizes, so your women riders carry the same layout as your men riders.
- Short and long sleeve jerseys are drawn separately. The sleeve zone on a long sleeve jersey sits the same distance from the shoulder seam as on a short sleeve jersey.
- Every zone is named, and each logo in it is marked with its printed size.
- The decoration method is marked for each mark: full sublimation, heat transfer, embroidery, reflective print or silicone grip.
- Name and number rules are written beside the zones they use: font, colour, letter height and position. A team that leaves numbers blank for some members, such as social riders, has that written in the number rules.
The proof also has a combined kit view: the pieces your team ordered drawn worn together, a jersey alone and then with a gilet or jacket over it, with warmers, cap and socks.
It shows where your main sponsor sits once an outer layer goes on. How the combined kit view is built for a full set is covered on our team cycling kit sets page.
Your team manager receives each version as a PDF. It can go to:
Your committee,
to vote on the design.Each sponsor,
to find its own logo on every piece and every cut that carries it.Your riders,
to see the finished kit before anyone enters a size.
A sponsor who was promised the chest of the women's jersey finds and sees its logo there, at its printed size.
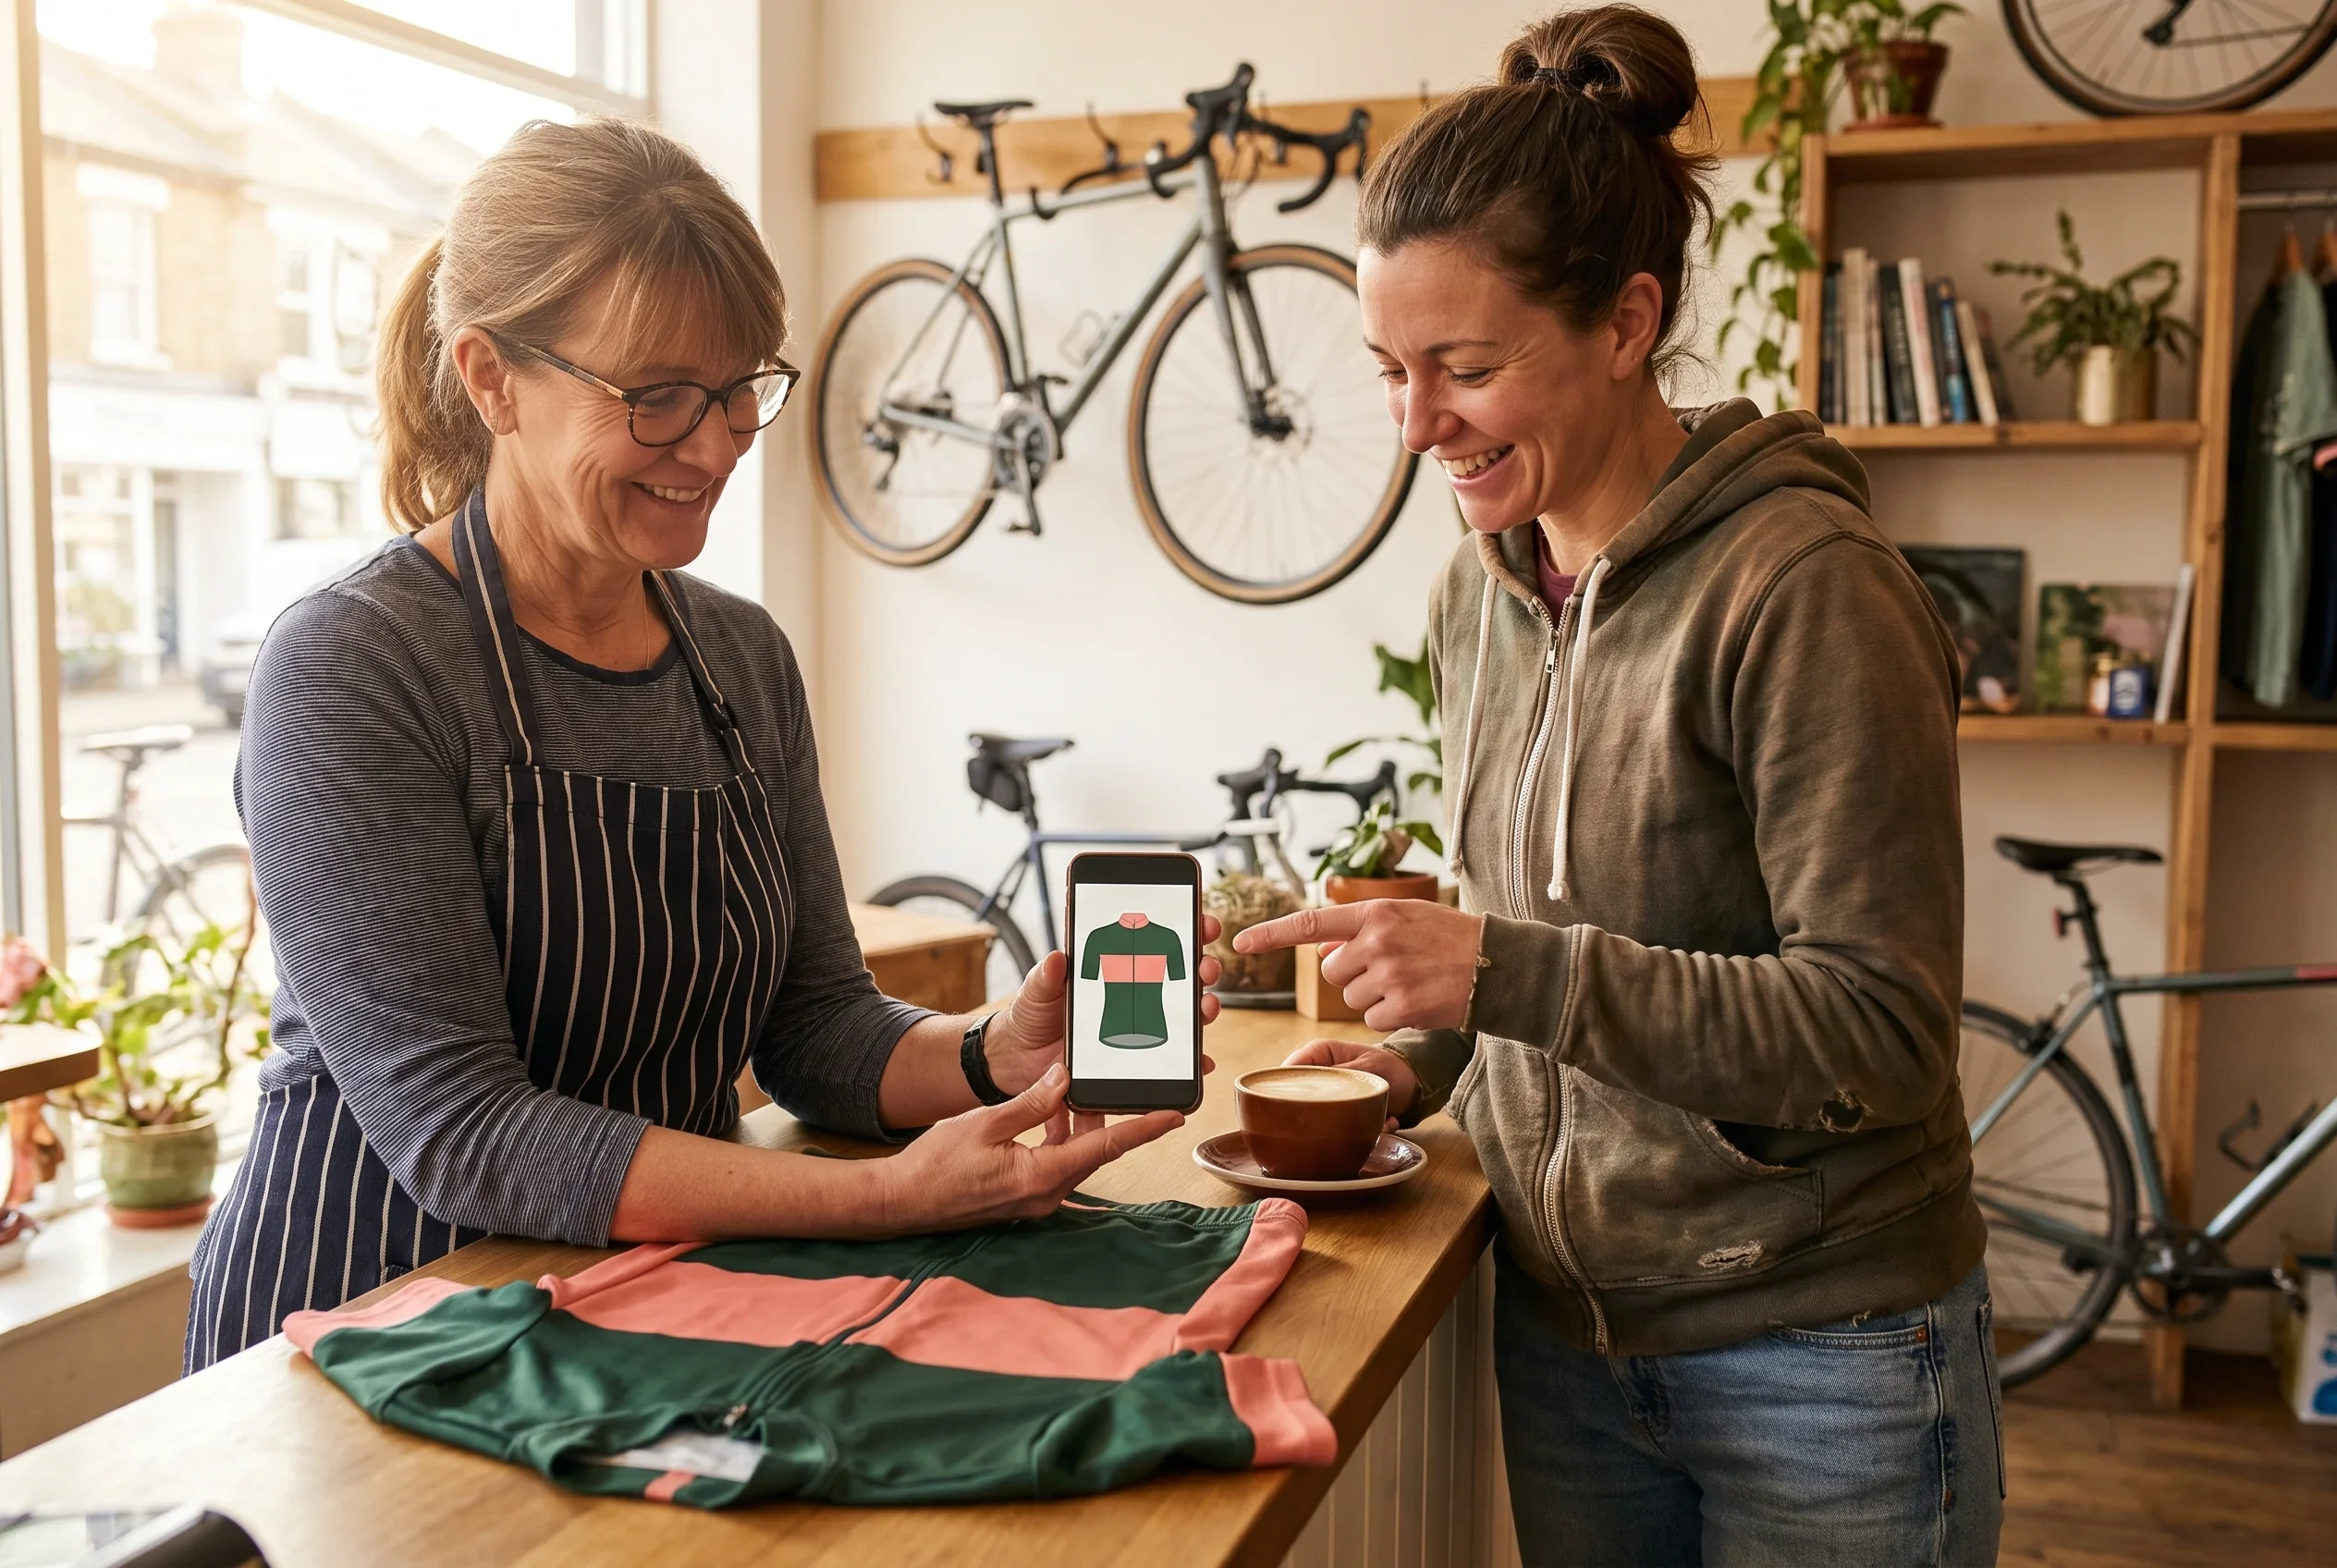
Women's page
Men's
Long sleeve
Combined kit view
Send Your Logos or Your Brief for a Proof Date
Send your crest and sponsor logos, photos of your current kit or your written brief, with your team size and team type. We reply within 24 hours on working days and tell you which files pass the check.
Send your logos or briefPre-Send Check: Every Logo Placed on the XS of Each Cut Before a Version Reaches You
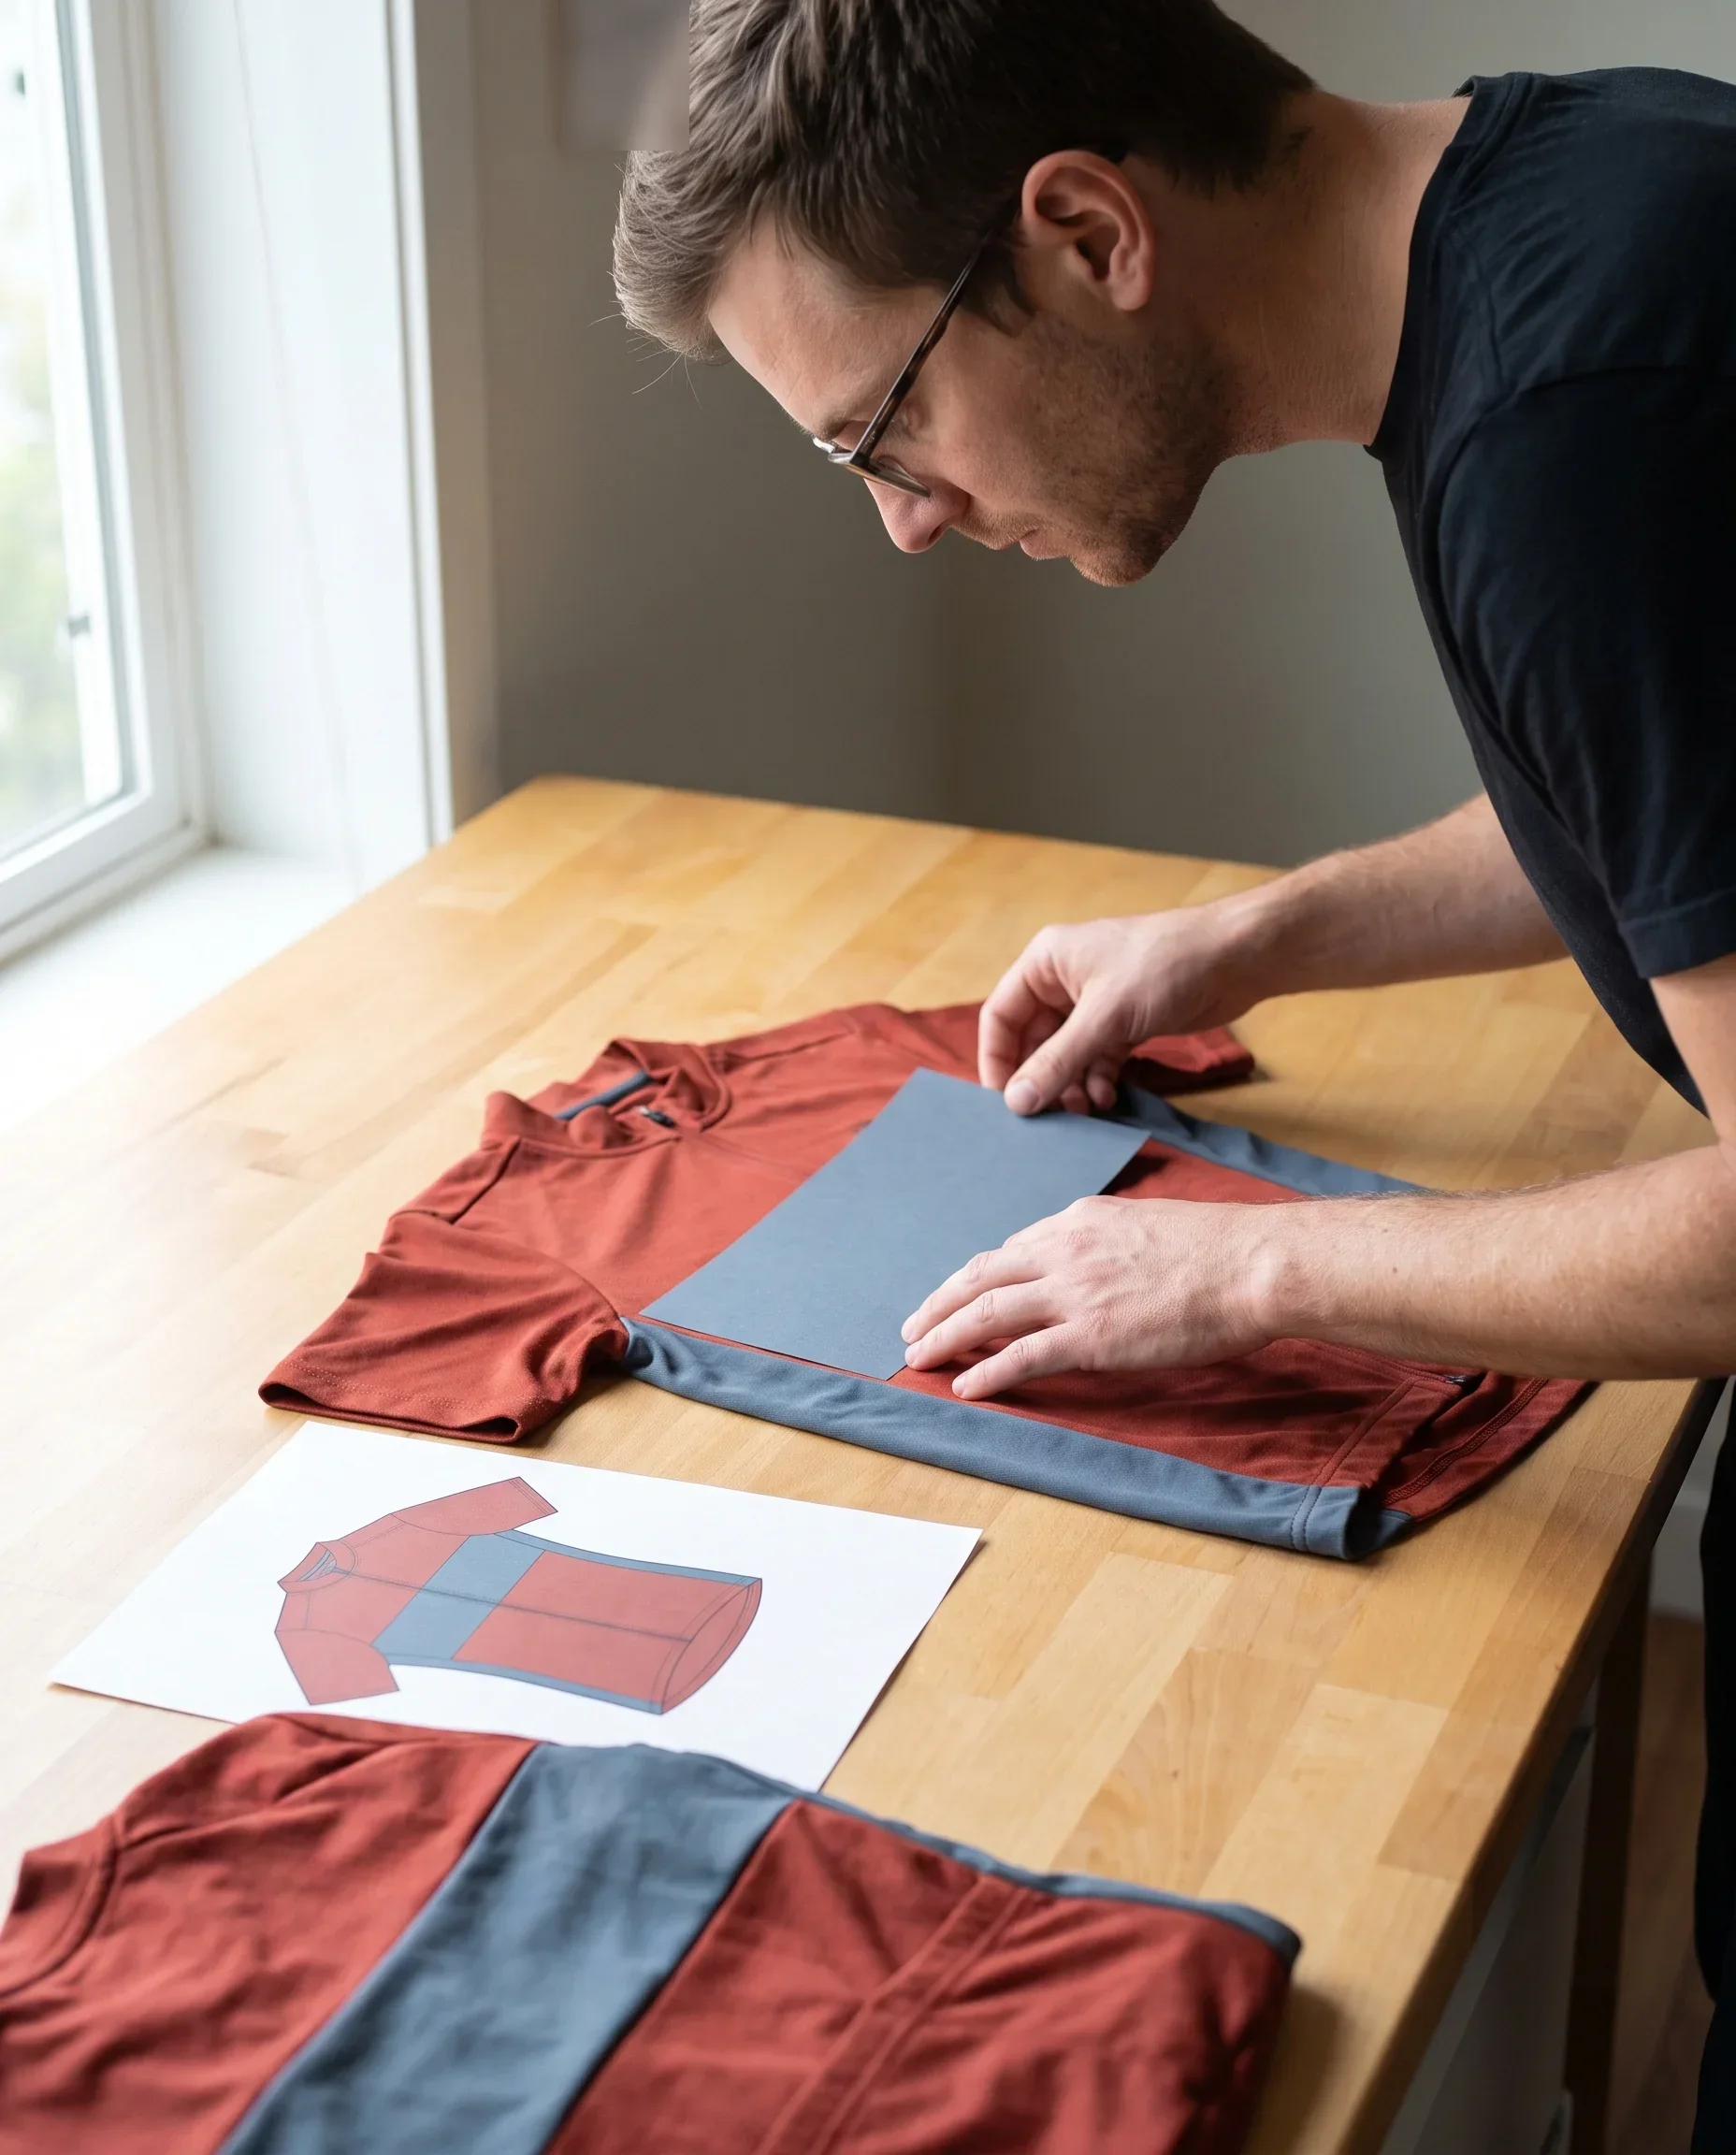
As your cycling team kit designer, the Kit Layout Designer sends no version of your layout proof without a check against the print rules. The check runs on every version: the first one, every revised one and the one your team manager signs.
The Designer places every logo on the XS of each cut it appears on, in the zone it is assigned to.
The check on each logo covers two limits:
- It is not below the minimum printed width for its zone.
- It is not above the maximum width the XS can take in that zone.
The minimum and maximum widths for each zone are set out on our custom team cycling jerseys page.
Five more checks run on the same version:
- The no-print rules: no print on the zip teeth, no mark across the back pocket opening, and no sponsor logo or text across a side or sleeve seam.
- Every rider name fits within 12 characters, spaces included.
- Every number has 3 digits or fewer.
- Men's and women's cuts and short and long sleeves your team ordered are each drawn.
- The combined kit view shows only the pieces your team ordered.
What happens when something fails:
the Designer fixes it before the version is sent, so your team never reviews a layout that cannot be printed as drawn. A sponsor logo that is too wide for the XS chest is resized or moved to a zone that takes it, and the change goes into that version's change note, for example"Main sponsor resized to fit the XS front chest across the zip."
What your team manager sees is the result: a proof where every logo, name and number already fits the smallest size, and a change note showing every adjustment the check made.
The sizes your sponsors approve on the proof are the sizes printed on every rider's kit, from XS to 3XL.
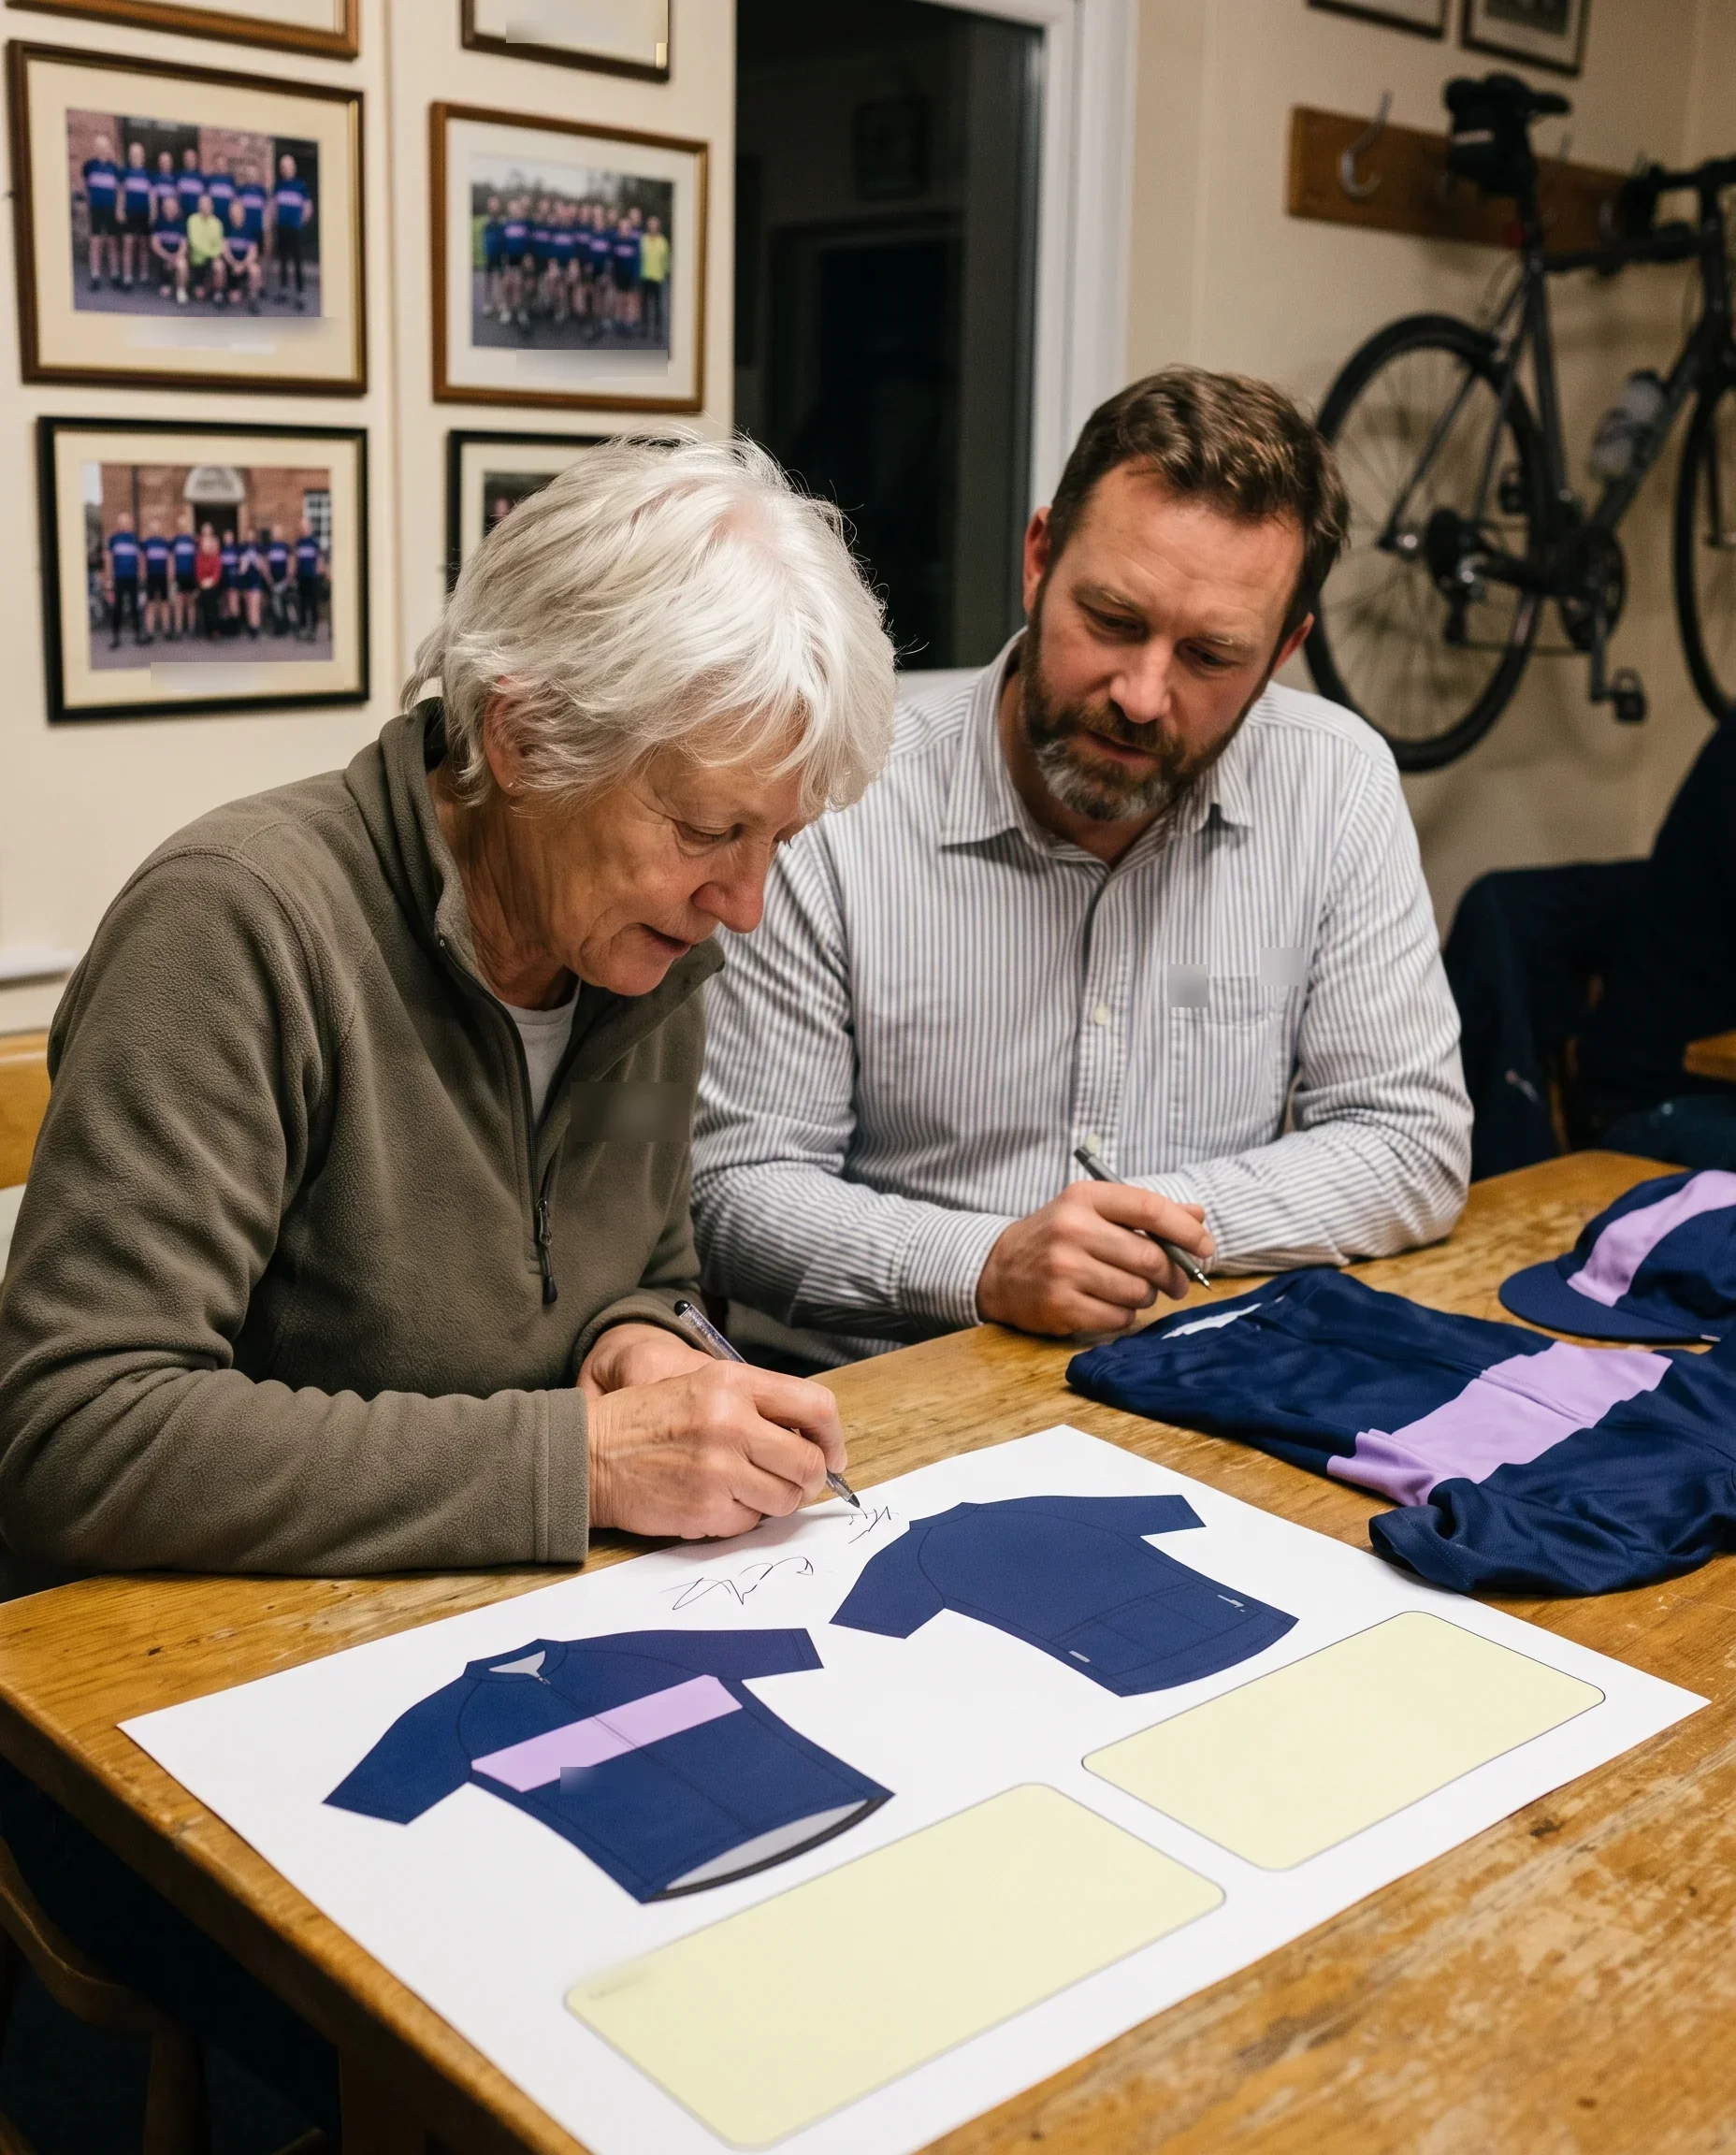
Signed Layout Proof: Two Signatures, One Date, and the Only Version Sent to Production
The signed proof is where the design stops moving. Everything before it is a draft; everything after it works from it.
What the signed version carries:
The Kit Layout Designer's signature, your team manager's signature and the date. Sponsors who ask to approve their position see it before your team manager signs. A version number, the same one stored in your team file. Final artwork only: every crest and sponsor logo from a checked vector file, with no placeholder anywhere on it.Once signed, the design can only change through a new version. If a sponsor phones with a late change or a committee member asks for a different shade after signature, the request goes to the Programme Coordinator in writing.
The Designer draws it as a new dated version with the change marked, and it counts only once your team manager has co-signed it. Until then, the signed version stays in force and production works from it.
Every design decision is recorded by email or on a signed document, so anyone can trace when the version in production was signed and what it replaced.
What goes to production, and who sends it:
after your roster is locked, the Programme Coordinator hands production three things together:The signed layout proof,
by its version number.Your locked roster,
signed by your team manager and the Order Desk.The colour reference version for each piece,
named in your team file.
Earlier drafts never reach the production floor. The Programme Coordinator follows the order from lock to packing, and if any date moves, your team manager hears it in writing.
From Signed Proof to Production Artwork: Roster Lines, Colour References and the Packing Check
Three parts of your kit come from the signed proof, and each one is checked against it before your riders' bags are packed.
Names and numbers
come from your locked roster. They are generated line by line from the roster, in the font, colour and position the signed proof sets, and printed in the same sublimation run as your team's kit. Each printed name and number matches one line of the roster.Colours
come from the colour reference version for each piece. Sublimated, embroidered and knitted pieces each have their own version, dated and set up by the Kit Layout Designer, and the combined kit view on your signed proof names the versions it was drawn with.Logos
come from the signed proof's zones and sizes.
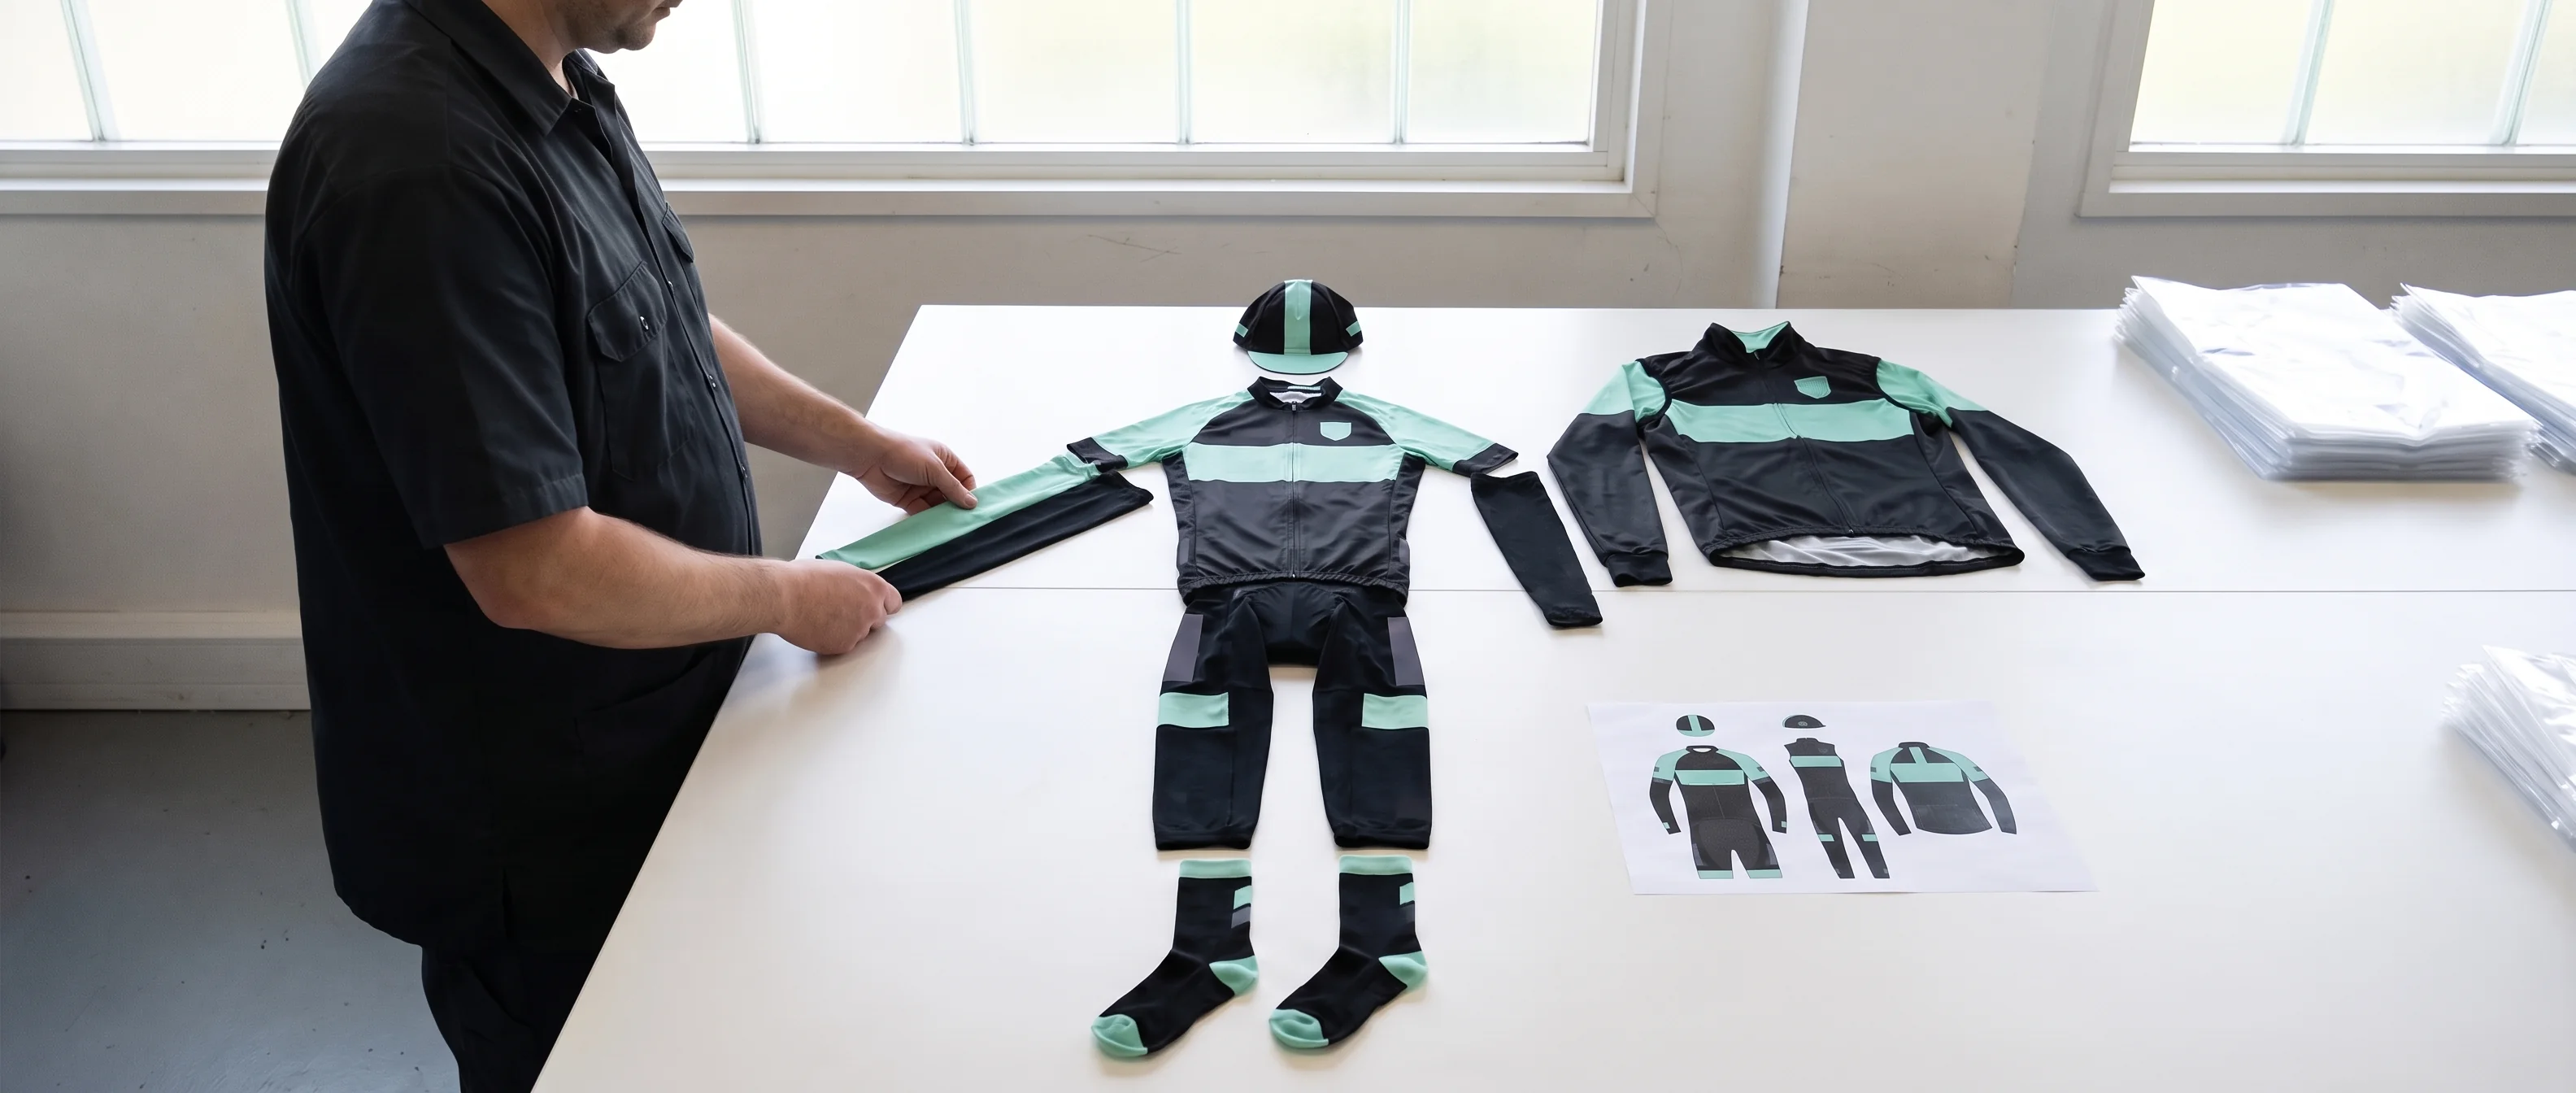
Before bagging, the Packing Lead checks every jersey against your documents. One of the checks is the design itself: every named zone carries its logo, at the position and size on the signed proof, and a logo across the zip reads as one logo with the zip closed.
The Packing Lead then lays out one complete set from the run against your combined kit view and checks that the main sponsor and the crest sit where the proof places them, and that every piece comes from the same proof version.
A piece that fails is remade before packing.
Your team manager can check this on arrival:
- Each line of the packing list by rider shows the checks ticked, and the Packing Lead signs it.
- Any piece can be laid next to the signed proof.
If a delivered piece differs from the signed proof, your team manager sends photos. We reply within 24 hours on working days, and a piece that does not match the signed proof is remade by us and shipped with our nearest production run. The full jersey checks are set out on our custom team cycling jerseys page.
Your Kit Design in the Team File: Dated Versions Kept 5 Years After Your Last Order
Your design does not sit on one person's computer. Every version of your layout proof, the combined kit view and the colour reference version for each piece are stored in your team file, each with its date.
- Only the Programme Coordinator and the Kit Layout Designer can change the file.
- Each change is saved as a new dated version; the previous version is kept, never overwritten.
- A change to the layout needs your team manager's co-signature.
- The file is kept for 5 years after your team's last order, and your team manager can ask for a copy at any time.

- Next season, your reorder plan states on its first line whether the signed proof carries over or which zone needs redrawing.
- A new sponsor is drawn into its zone as a new version, and the rest of the proof stays as signed.
- A piece added mid-season, such as an autumn jacket, is drawn from the same colour parameters and added to the combined kit view as a new version for your team manager to co-sign. How reorders run from the team file is covered on our team kit reorder program page.
Kit Layout Designer Compared With an Online Kit Configurator and a Freelance Designer
| Step | Online kit configurator | Freelance designer | Kit Layout Designer in your programme |
|---|---|---|---|
| Starting material | You place logos on a stock template yourself | Your brief, drawn into artwork | Current kit photos, vector logos or a written brief, drawn into a full first version |
| Logo files | Uploaded as they are | Used as supplied | Checked before drawing; files that fail go back on one dated note |
| Sizes and cuts | One on-screen preview | Usually one jersey mock-up | Men's and women's, short and long sleeve, each drawn |
| Print rules | Applied by the factory after you order | Applied by the factory after the artwork is delivered | Checked on the XS of every cut before each version is sent |
| Changes | Edited on screen by you | Exchanged by email | Each version dated, changes marked |
| Sign-off | Checkout | Approval of the artwork | Signed by the Designer and your team manager, with a date |
| Link to production | Your design file | Artwork handed to a factory | Signed proof sent with your locked roster and colour references; packing checked against it |
| Files next season | In your account | With the designer | In your team file, 5 years after your last order |
Kit Design Inputs by Starting Point: Current Kit, Vector Logos or Team Colours
Your first message needs your team size, your team type and your starting point. The design inputs depend on which one you choose:
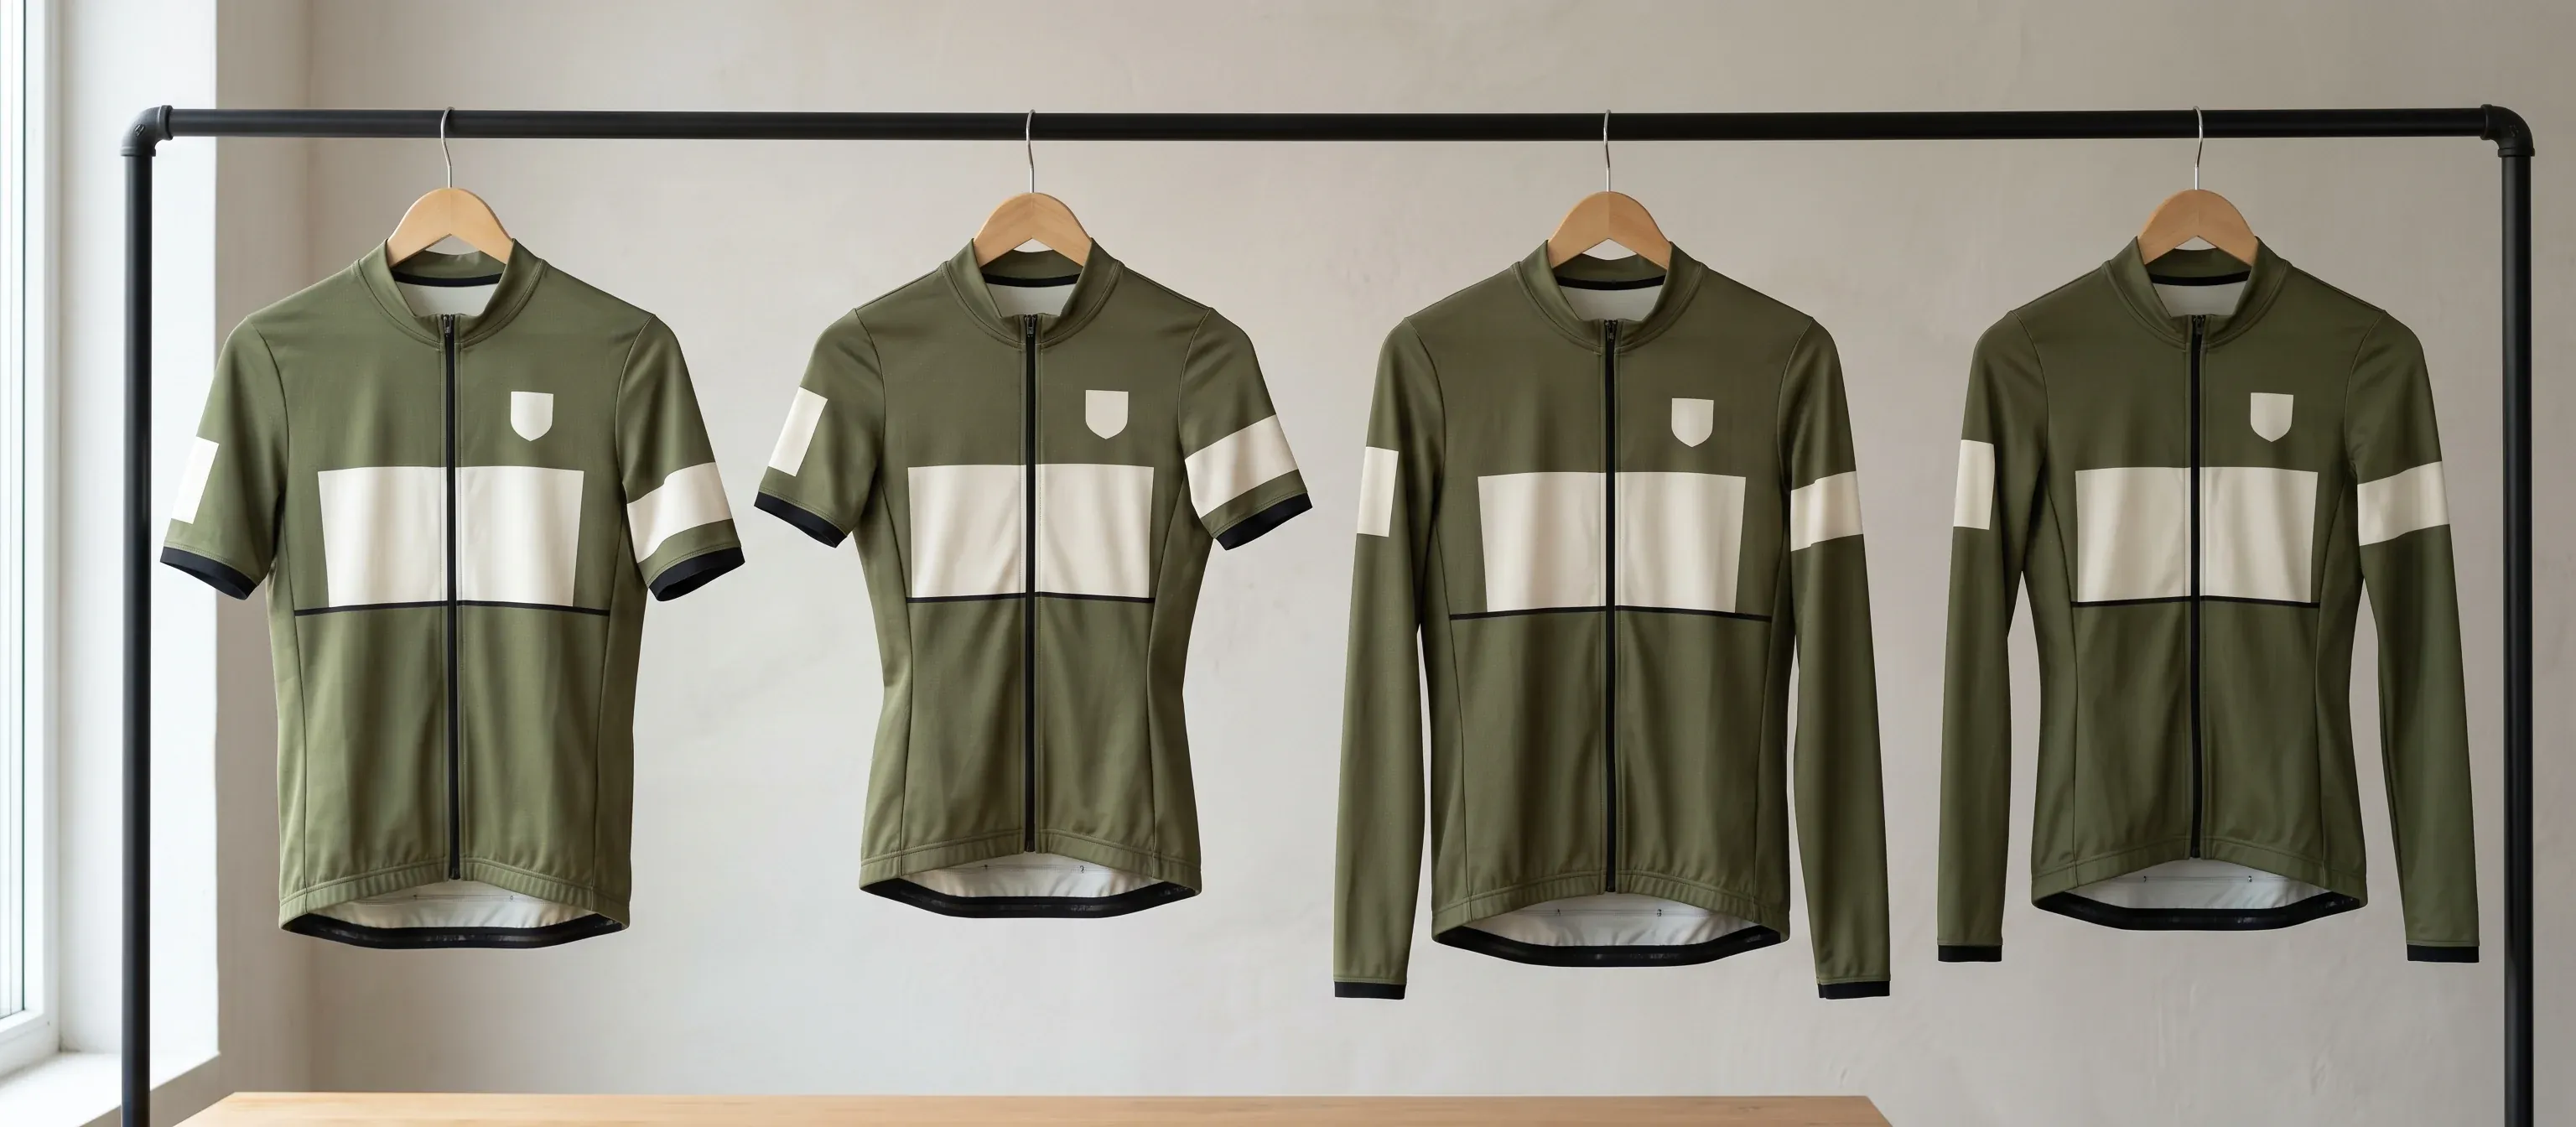
A current kit:
photos of the kit front and back, or the original design files; the crest and each sponsor logo as vector files; the pieces you want this time.Vector logos:
the crest and each sponsor logo as vector files, with the zone you want for each and your main sponsor marked; your team colours; the pieces you want.Team colours and an idea:
your written brief with colours, feel, reference photos and must-have elements; any logo files you already hold.
Also helpful from the start:
- The dates of the committee or sponsor meetings that will approve the design, so your Programme Coordinator can place the sign-off date after them.
- Your number and name rules, if your team already has them.
Anything not ready can follow, and sizes come later, through your roster, once the proof is signed.
Starting a Team Kit Design: Ordering Plan, File Check, First Version
Your design starts the same way as every programme with us, and each step leaves you with something on paper.
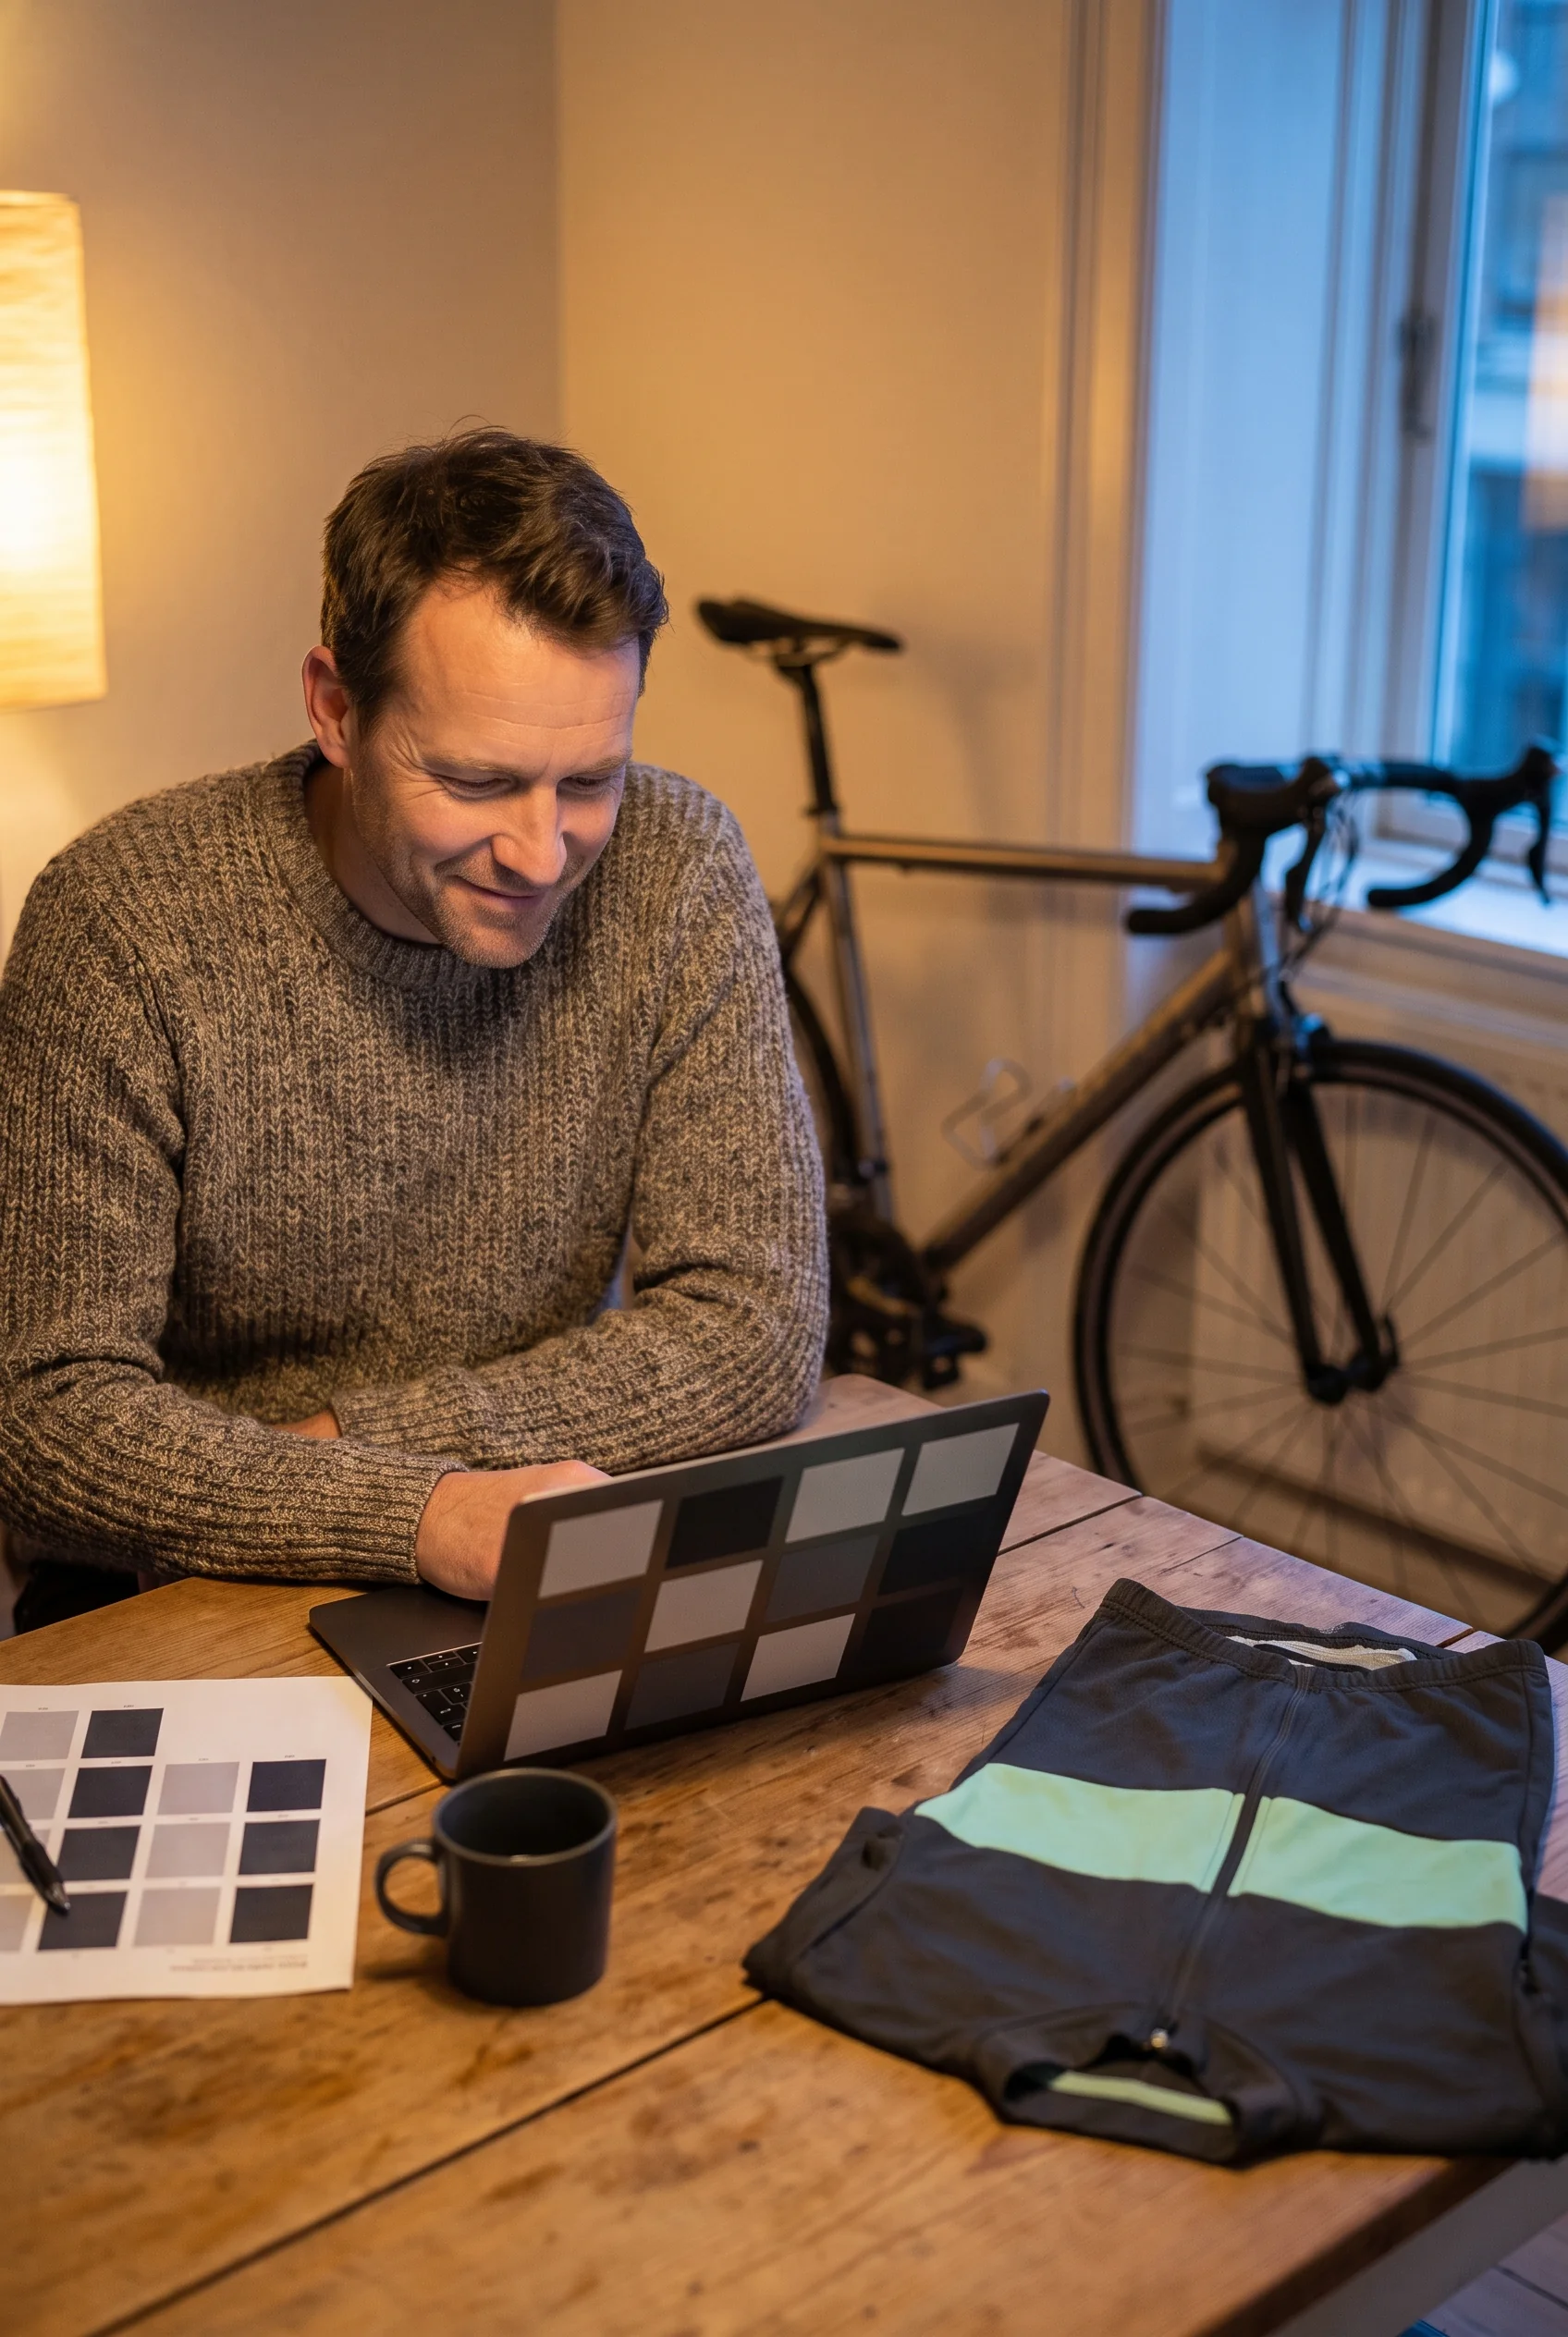
You send your team size, team type and starting point.
We reply within 24 hours on working days and confirm anything still needed.Within 48 hours of receiving those three, you receive your ordering plan:
the pieces to include, the ordering path for your team, and the dates for proof sign-off, ordering window, roster lock and delivery, worked back from the date your riders need the kit.Your files and brief go to the Kit Layout Designer for the file check,
and the dated note tells you which files passed.Your first version follows within 3 working days of the file check passing,
drawn in full, checked on the XS of every cut, ready for your committee and sponsors.Your team manager sends one combined reply per review round,
and each new dated version comes back within 2 working days with every change marked.Your team manager and the Kit Layout Designer sign the final version,
and it goes to production with your locked roster.
How review rounds run with a committee is covered on our cycling club kit supplier page, and the full date sheet for a first order on our team kit ordering process page.
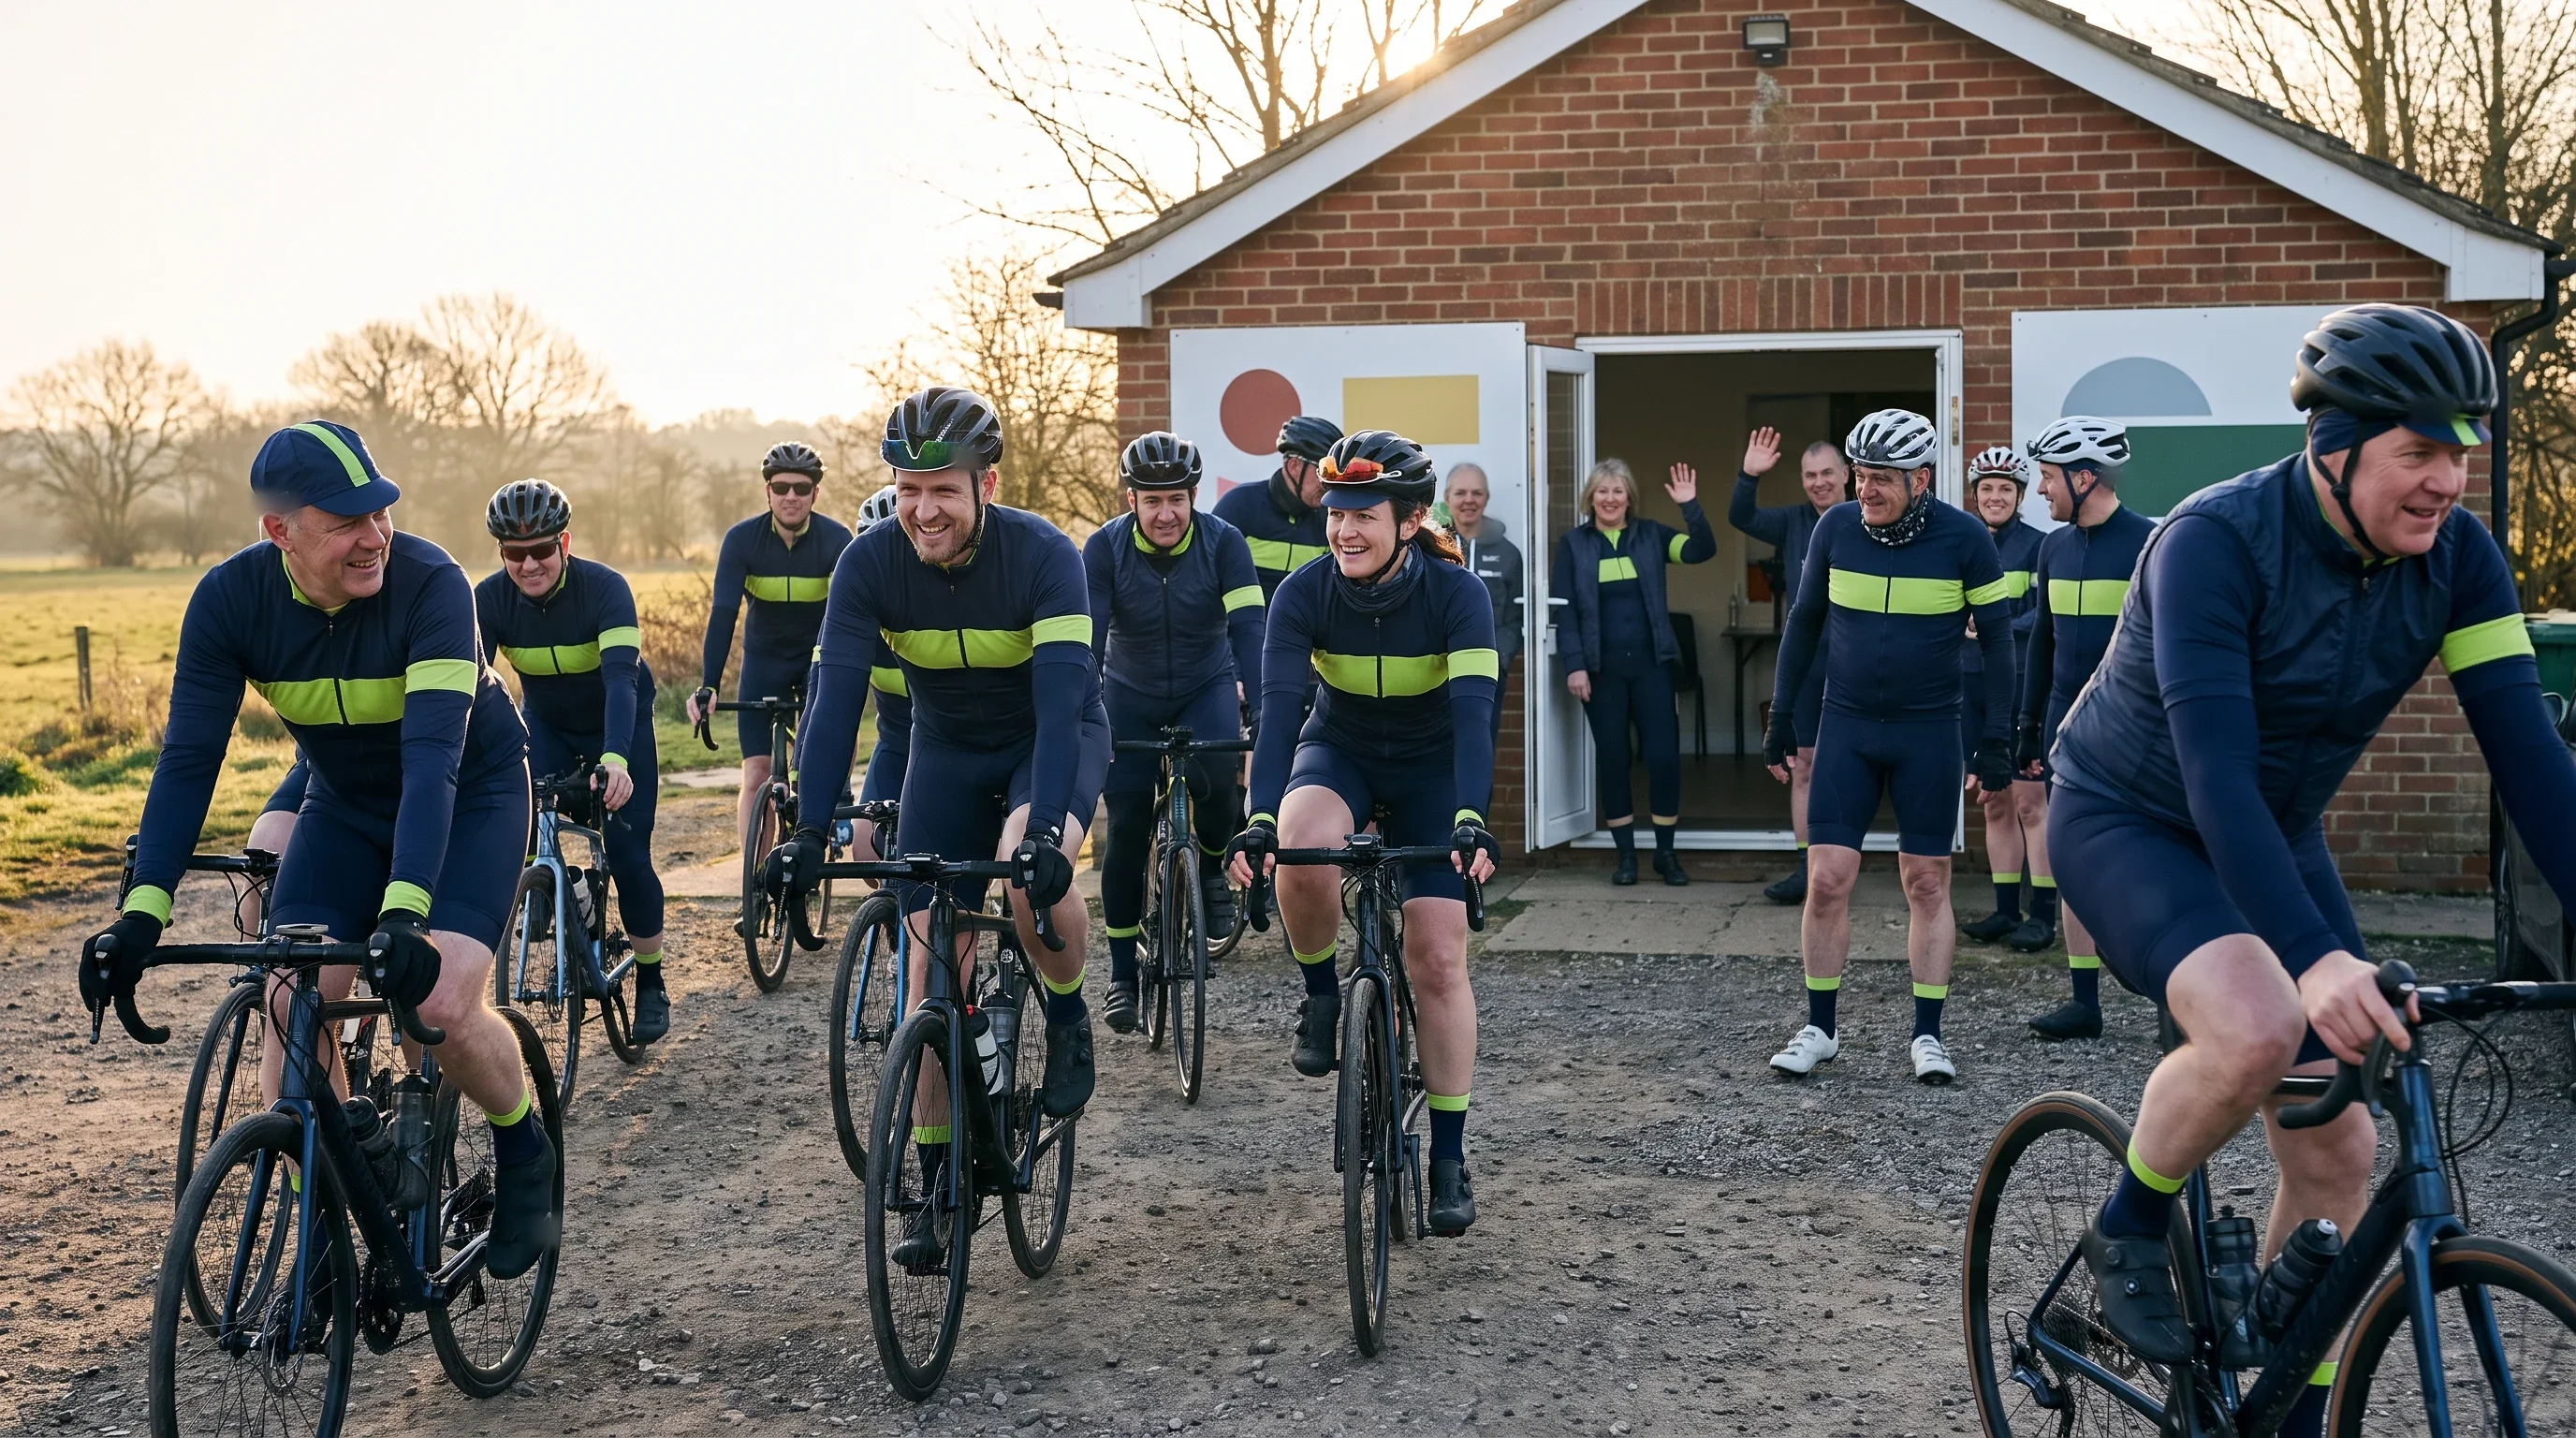
Get Your First Layout Proof Drawn
Send your logos, kit photos or brief with your team size and team type. Once your files pass the check, your first version arrives within 3 working days, drawn in full across every piece you order.
Reply to your Programme Coordinator's first email and attach your files there.